Exploring the Suffolk Virginia Night Sky – Astronomy, Astrophotography, Telescopes, EAA – Planets and Stars and Nebula and Galaxies – Looking, Learning, Sharing… Let's see what we can see…
I am upgrading the Raspberry Pi 3B 1 GB which is currently running the my all sky camera to a Raspberry Pi 4 4GB. The Pi3 has been working fine but I had the Raspberry Pi 4 freed up from another project so I decided to swap it out. Going to also update Raspbian to the latest 64-bit release and get indi and indi-allsky updated.
TL;DR
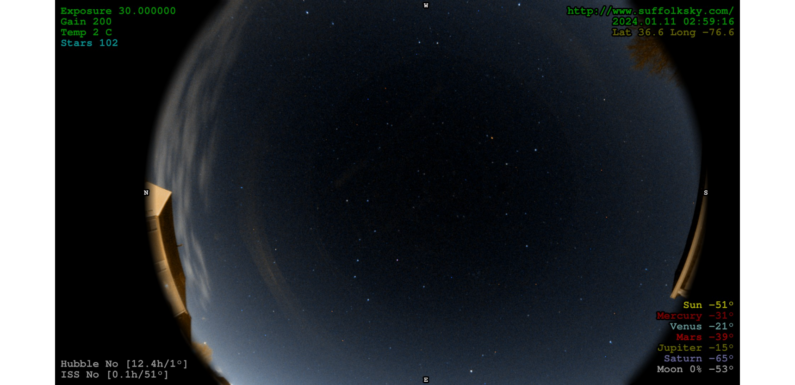
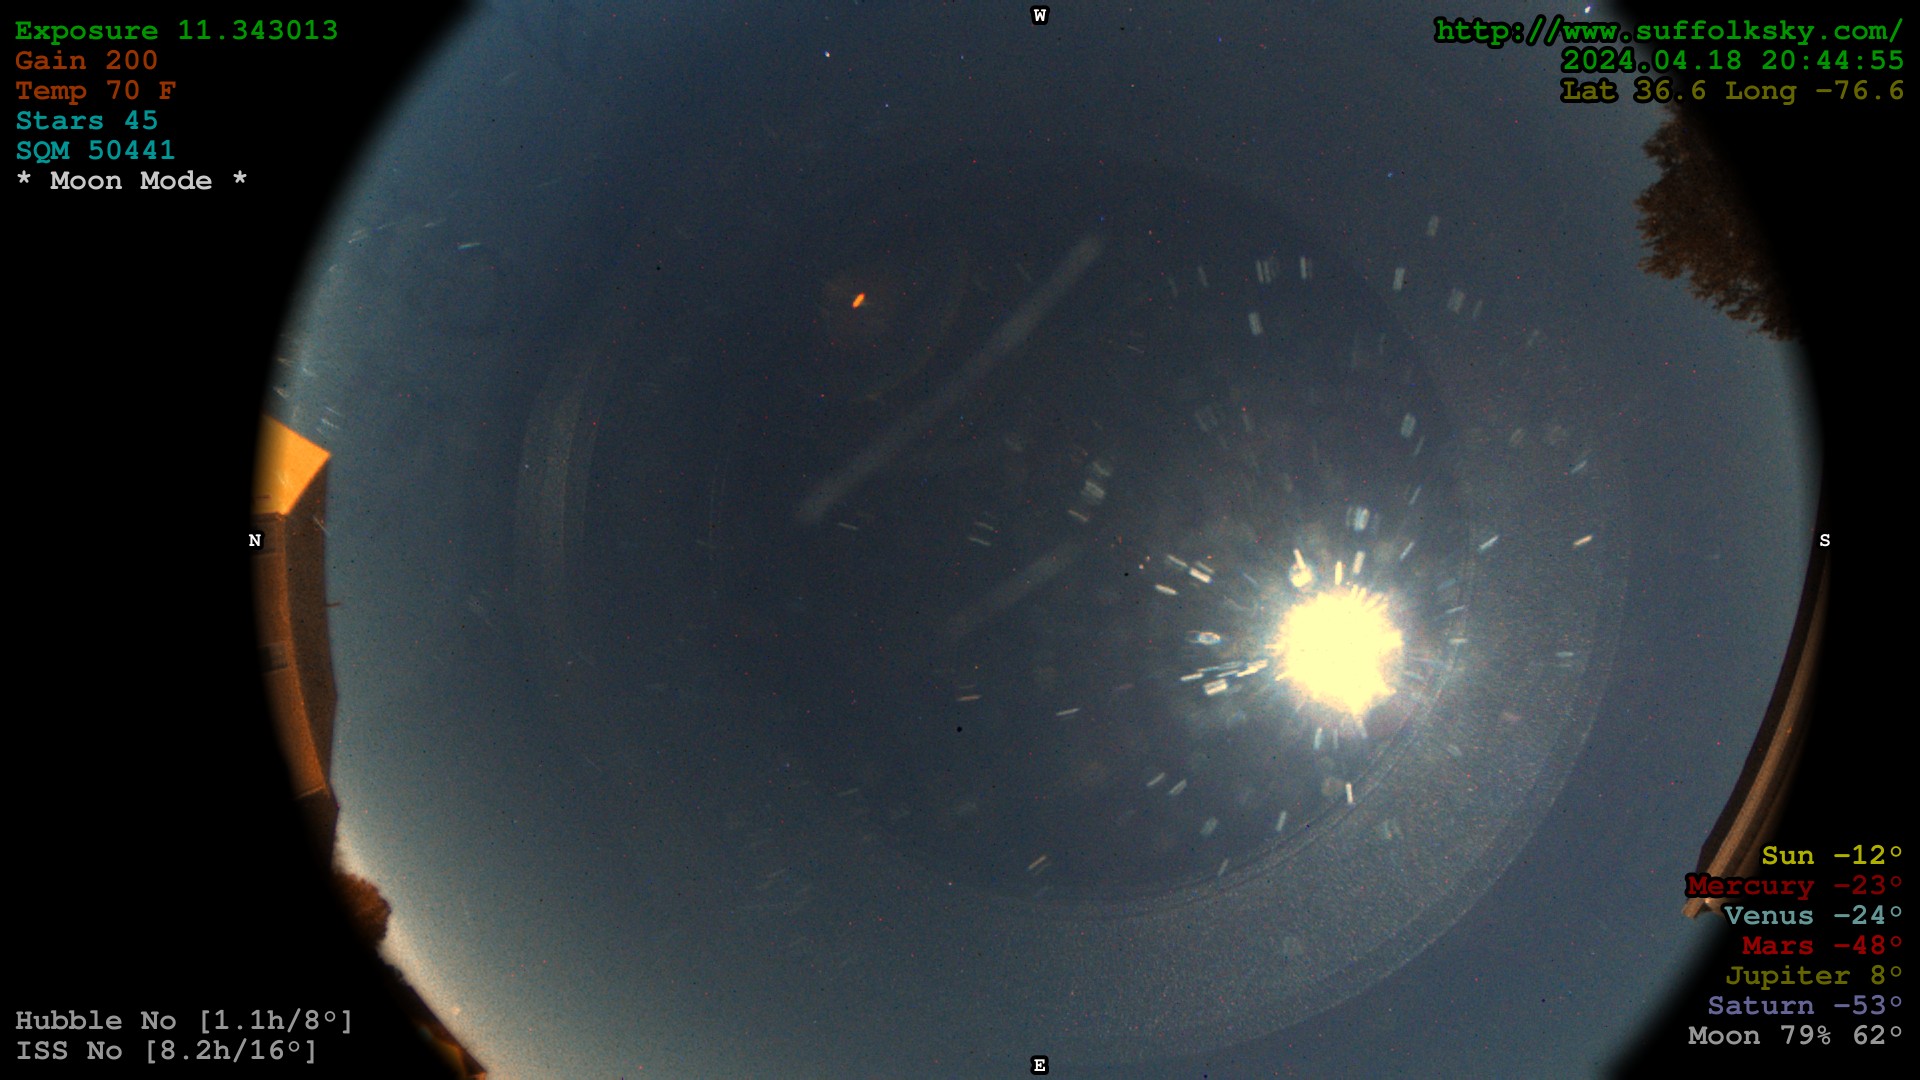
You can access the All Sky Camera live here https://vhersey.hopto.org:5010/indi-allsky/
(Note: the all sky camera is using a self-signed certificate currently so you will get a browser security warning.)
There are a couple of scratches on the All Sky dome. I plan to replace the dome here soon.
Install Rasbian on the Raspberry Pi
Loaded the latest 64-bit version of Raspbian on to a 128 GB SD Card using the Raspberry Pi Imager. Connected to my wireless network and logged in with SSH. Made sure all the packages were up-to-date.
sudo apt update

sudo apt upgrade
Installing INDI-AllSky
Grabbed the latest indi-allsky version from the repo.
git clone https://github.com/aaronwmorris/indi-allsky.git
Installed indi-core and indi-3rdpary drivers using the build script in indi-allsky:
cd indi-allsky

./misc/build-indi.sh
The indi core and drivers take about an hour to build.
After indi is installed you can run:
indiserver -v
To verify the indiserver version, in this case it is 2.0.3. Some of the newer indiserver builds have had some bugs with ZWO and SVBONY camera drivers so indi-allsky recommends 2.0.3 for now.
Once indiserver is installed, install indi-allsky:
./setup.sh
Raspberry Pi Optimizations
These optimizations decrease the iops to the SD Card which increase it’s life span. The desktop environment (GUI) is also disabled to free up some resources.
Increased swapfile to 1024 and disabled the GUI using the instructions found on the indi-allsky Memory Optimization wiki page.
INDI-AllSky Configuration
Below are the setting which I changed up from the defaults for my All Sky Camera.
Camera
– Night Gain: 200
– Moon Mode Gain: 200
– Daytime Gain: 10
– Max Exposure: 30
– Exposure Period (Night): 30
– Exposure Period (Day): 30
I tinker with the gain settings from time to time, but 200 seems to work well on the SV305 for both Night mode and Moon mode. My maximum exposure setting is 30 seconds for both Night and Day.
– External Temperature Script: /home/pi/Projects/allskytemp/getallskycameratemp.py
Since the SV305 does not support temperature measurements, I added a DHT11 sensor I had laying around. These DHT11 sensors are not the most accurate, but they are cheap and it will provide some insight into the temperature inside the camera dome.
I connected the DHT11 sensor’s + pin to the Raspberry Pi’s pin 2 (5 volt DC), the data pin to the Raspberry Pi’s pin 7 (GPIO4) and the – pin to the Raspberry Pi’s pin 9 (ground). I wrote a quick script to create the JSON, which gets passed to the indi-allsky environment variable (TEMP_JSON), from the temperature reading. The script, getallskycameratemp.py, can be found here.
This sets the SV305 format to RAW 16-bit instead of 8-bit. This setting has changed over different INDI Versions. Aaron has these setting documented in the INDI Custom Config section of the indi-allsky Wiki.
– SCNR (green reduction): Average Neutral
– Auto White Balance: Enabled
The settings above remove the green noise and balance the camera colors. I was tinkering with settings in the INDI Camera Configuration to adjust these values manually, but the green reduction and Auto White Balance seems to work well, so just going to use these setting for now.
Label Template:
# size:30 [Use 60 for higher resolution cameras]

# xy:-15,15 (Upper Right)

# anchor:ra (Right Justified)

# color:0,150,0

{location}

{timestamp:%Y.%m.%d %H:%M:%S}

# color:100,100,0

Lat {latitude:0.1f} Long {longitude:0.1f}

# xy:-15,-240 (Lower Right) [Use -15,-450 for size 60]

# color:175,175,0

Sun {sun_alt:0.0f}°

# color:125,0,0

Mercury {mercury_alt:0.0f}°

# color:100,150,150

Venus {venus_alt:0.0f}°

# color:150,0,0

Mars {mars_alt:0.0f}°

# color:100,100,0

Jupiter {jupiter_alt:0.0f}°

# color:100,100,150

Saturn {saturn_alt:0.0f}°

# color:150,150,150

Moon {moon_phase:0.0f}% {moon_alt:0.0f}°

# xy:15,-75 (Lower Left) [Use 15,-210 for size 60]

# anchor:la (Left Justified)

# color:150,150,150

Hubble {hst_up:s} [{hst_next_h:0.1f}h/{hst_next_alt:0.0f}°]

ISS {iss_up:s} [{iss_next_h:0.1f}h/{iss_next_alt:0.0f}°]

# xy:15,15 (Upper Left)

# color:0,150,0

Exposure {exposure:0.6f}

# color:150,50,0

Gain {gain:d}

Temp {temp:0.0f} C

# color:0,150,150

Stars {stars:d}

# color:200,200,200 (default color)

# additional labels will be added here
The Label Template creates the text overlays which are added to each image: Exposure time, gain, temperature, # of stars, location, etc. There is a lot of information you can display on the image, but it quickly gets kind of busy. I think I have balanced the busy and the relevant information pretty well. I may still do some tinkering here, but this seems like a pretty good starting point.
– Enable Cardinal Directions: Enabled
– Swap East/West: Enabled
– Text Color: 255,250,250
– Image Circle Diameter: 1570
– X Offset: 80
This displays the N, S, E, W labels on the image. I have the image circle diameter just a bit larger than the processing image circle setting so the N and S labels are just on the edge of the image area.
– Orb Mode: Off
I don’t find the Sun and Moon orbs very useful or necessary.
– Image Expiration: 15
– Timelapse Expiration: 90
Keeping 15 days of images and 90 days of timelapse.
Processing
– Meteor Detection: Enabled
This will mark images in the database where a Meteor or Satellite was detected in the image.
The Mask Diameter places a circle on the image in the configured diameter and the offset, well, off sets it from center. The Mask Blur and Mask Opacity set how much the area outside the Mask Diameter should be masked.
Here I just configure my location information and the camera lens specifications. I may add a GPS dongle in the future for more precise location information, but for now I have the location configured statically.
– Azimuth: 270.0
– Sun altitude: -10
The Azimuth configuration sets the location of North on the image: 0 is straight up, 90 is to the right, 180 is straight down, and 270 is to the left. Setting the Sun altitude to -10 means when the Sun is 10 degrees below the horizon it switches to Night mode.
RaspAstroWeb
I installed my RaspAstroWeb application which provides some other interesting and useful (IMHO) astronomy information.
Pull down raspastro from github:
mkdir -p ~/Projects

cd ~/Projects

git clone https://github.com/herseyc/raspastro.git

cd ~/Projects/raspastro/RaspAstroWeb
Then run the RaspAstroWeb installation script:
./install_raspastroweb.sh
There were some dependencies issues I ran into when I installed RaspAstroWeb. I am going to work through those and update github (by the time I post this it will probably be worked through)… I need to move things into a python virtual environment but that is another day and a different post. (BTW Dependencies have worked through and python virtual environment is setup in the installation script and github has been updated) If you have issues with RaspAstroWeb please open an issue on github.
Done!
The All Sky Camera is now up and running on the Raspberry Pi 4. I’ll get the dome changed out in the next few days… I hope.
Enjoy!
Live SuffolkSky All Sky Camera :https://vhersey.hopto.org:5010/indi-allsky/
(Note: the all sky camera is using a self-signed certificate, so you will get a browser security warning.)