Exploring the Suffolk Virginia Night Sky – Astronomy, Astrophotography, Telescopes, EAA – Planets and Stars and Nebula and Galaxies – Looking, Learning, Sharing… Let's see what we can see…
Raspberry Pis have been hard to come by and when you do find one the prices have been pretty steep. I decided to take a look at other single board computers (SBC) as an alternative to the Raspberrry Pi to see if I can get INDI server, KStars, and my RaspAstroWeb application installed to use for my EAA and astrophotography imaging sessions.
There are a number of SBCs available, I chose the Libre Computer Board ROC-RK3328-CC (Renegade) Mini Computer with Gigabit Ethernet and USB 3.0 (4GB) to try out. The Libre Computer SBC was inexpensive (the 2 GB model is $40, and the 4 GB model is $50), readily available, and supports running Raspbian (which is what I am familiar with).
I plan to try both my RaspAstro installs and an Astroberry build on this Libre SBC, but for this post I am going to focus on using my RaspAstro scripts to build all the necessary software.
The Libre Computer ROC RK3328-CC has a quad-core 64-bit ARM processor, 4GB of memory, 1 Gigabit Ethernet, 2 x USB2 ports, and 1 x USB3 port. It is a similar form factor to the Raspberry Pi 3. Raspberry Pi 3 cases are suppose to work for it, but I have not tried one yet (I am sure I have one laying around somewhere).
It has one less USB3 port than the Raspberry Pi 4. It also does not have onboard Wifi, which the Raspberry Pi does have, so Wifi will need USB Wifi Adapter which will consume one of the USB 2 ports. I’ll be using the Gigabit Ethernet, so no need for Wifi right now. The 3 USB ports provide enough connectivity for my current gear (USB2 GPS Dongle and Skywatcher Mount, and the USB3 for the ZWO Camera). The camera has a 2 port USB hub which I use for the guide camera and the EAF. There are no other USB ports so if I add another device or want a Wifi Adapter a USB hub will be needed. Not a short term deal breaker.
After the initial set up, which is done while connected to a keyboard/mouse/monitor, enabled SSH to connect to it over the network.
sudo systemctl enable ssh.service

sudo systemctl start ssh.service
SSH is started and will start on boot. Once connected over SSH the keyboard/mouse/monitor is no longer needed and can be disconnected.
Once connected via SSH update Raspbian and install git.
sudo apt update

sudo apt upgrade

sudo apt install -y git
Create a Projects directory and clone RaspAstro from git.
mkdir -p ~/Projects

cd ~/Projects

git clone https://github.com/herseyc/raspastro.git

cd ~/Projects/raspastro
Install the RaspAstro dependencies…
./install-raspastro-dependencies.sh
Increase the swap file size and decrease swappiness using the apply-optimizations.sh script.
./apply-optimizations.sh
Applying the optimizations is optional and probably not really needed, but I try to keep things consistent across my builds.
Next install GPSD.
./install-gpsd.sh
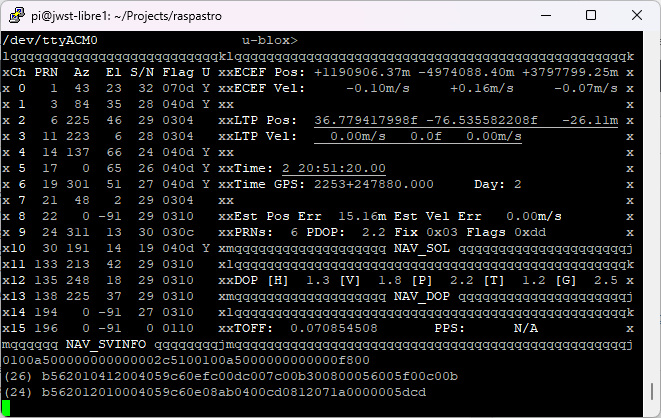
After gpsd is installed run gpsmon to make sure the GPS dongle is seeing satellites and receiving data.
With the dependencies and gpsd installed it should be all set to build and install the rest of the software from source.
Installing INDI Server…
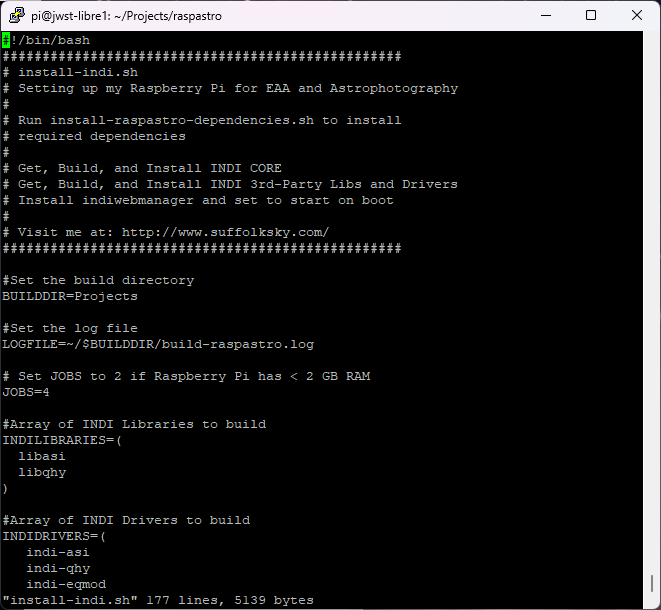
Set up the INDI Libraries and INDI Drivers to build in install-indi.sh
To install INDI core and all the 3rd-party libraries and drivers use the script install-fullindi.sh script.
I am installing the libraries and drivers to support the ZWO ASI (libasi and indi-asi) Devices and the QHY (libqhy and indi-qhy) Cameras (my guide camera is an Orion Starshooter Autoguider, which is a rebranded QHY). I also added the 3rd-party drivers for indi-gpsd and indi-eqmod (this is for the Skywatcher Mount). Save it and run the install script.
./install-indi.sh
The install script builds INDI core and the configured third-party libraries and drivers. It also installs INDI Web Manager and sets it up to start on boot. To verify everything installed correctly open up a browser to INDI Web Manager (http://ipaddress:8624) and make sure you can select the correct drivers.
To install additional INDI 3rd-party Libraries and Drivers after the install use the install-indi-driver.sh script.
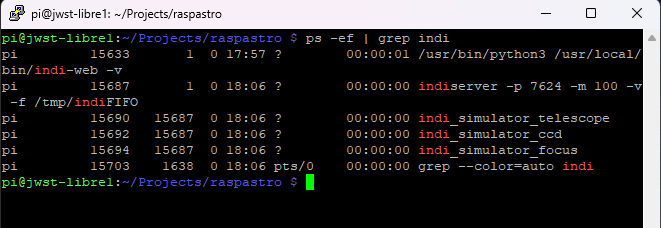
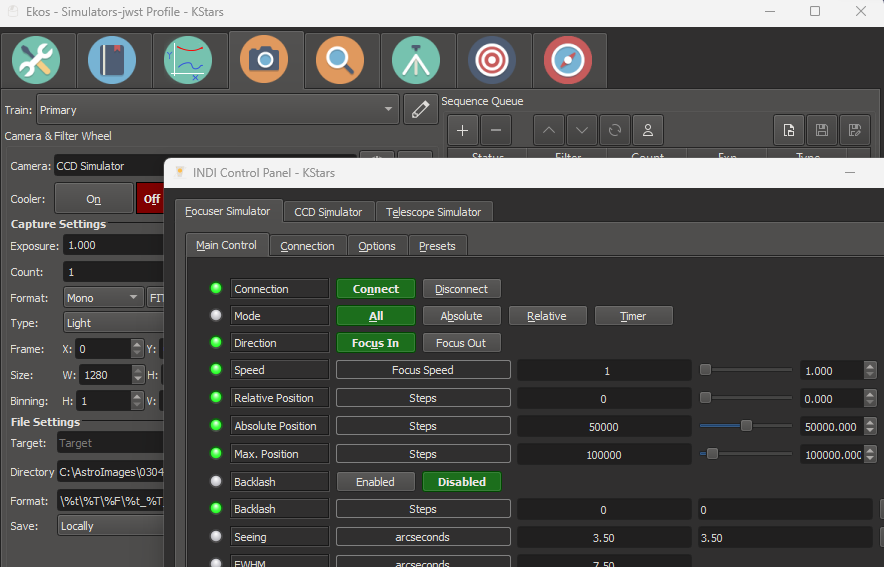
I don’t have any of the equipment cabled up right now, but I started the Simulators to make sure they ran as expect. This can be verified in the INDI Web Manager or a quick ps -ef | grep indi from the command line shows the indi simulators started.
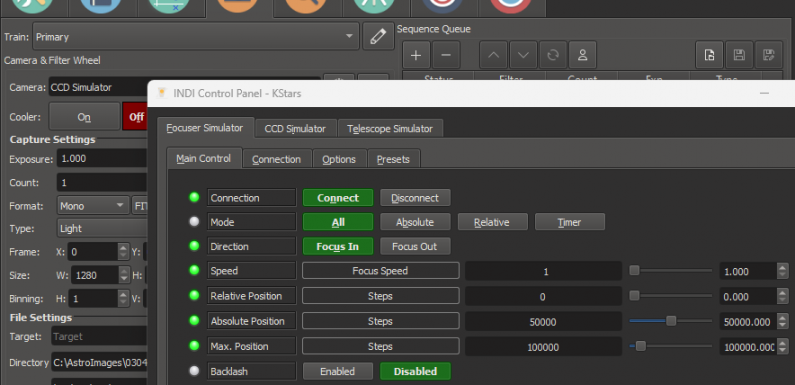
Tested connectivity to the Simulators from KStars/Ekos on my desktop and all works as expected.
Installing RaspAstroWeb…
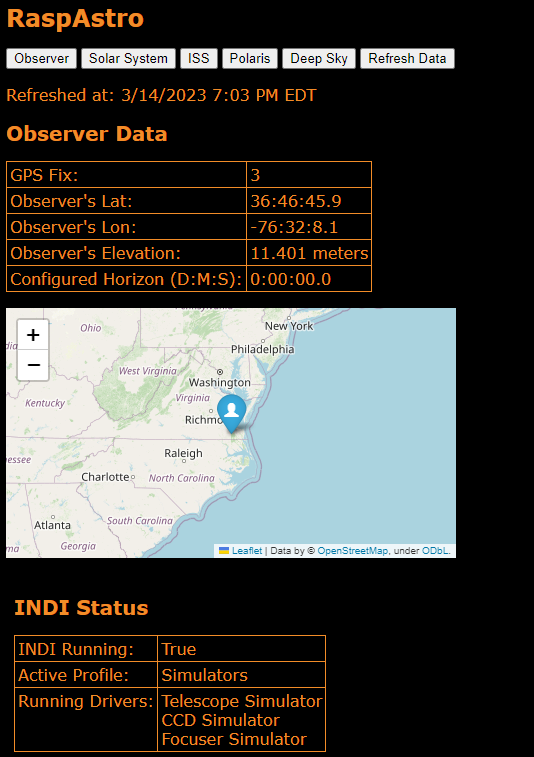
RaspAstroWeb is a web application which display interesting and useful Astronomy data. Information about the Sun, Moon, planets, and the International Space Station (ISS). It is just something I have been working on to practice my python coding, but it actually is pretty handy. It is downloaded as part of RaspAstro.
Change to the directory, edit config.py for your configuration, install the required python modules, and install RaspAstroWeb.
cd ~/Projects/raspastro/RaspAstroWeb

sudo pip3 install -r requirements.txt

./install_raspastro-web.sh
Most of the requirements are installed with install-raspastro-dependencies.sh but I may have missed an update so I just run the requirements.txt file with pip3 to make sure I don’t miss anything.
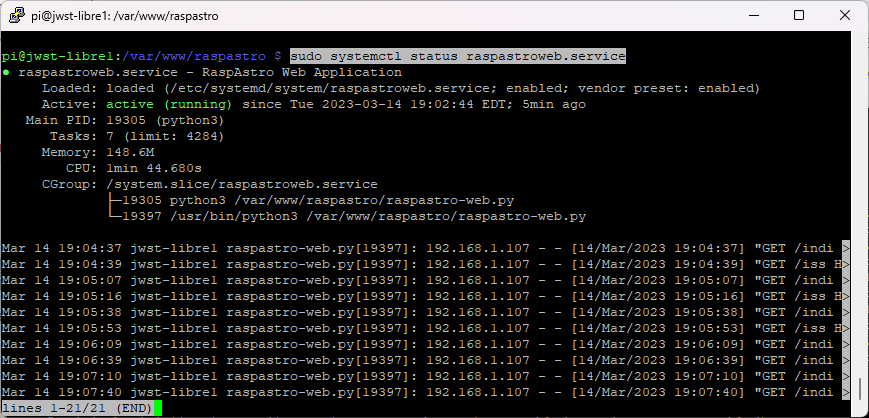
Set RaspAstroWeb to start at boot. If you installed RaspAstroWeb to a directory other than /var/www/raspastro raspastroweb.service will need to be updated to reflect that.
cd /var/www/raspastro

sudo cp raspastroweb.service /etc/systemd/system

sudo chmod 644 /etc/systemd/system/raspastroweb.service

sudo systemctl daemon-reload

sudo systemctl enable raspastroweb.service

sudo systemctl start raspastroweb.service
The last line above starts the raspastroweb.service.
Use a browser to connect to port 5000 to make validate RaspAstroWeb is running.
It takes a minute to start the first time. Use sudo systemctl status raspastroweb.service it check the status and view the access log. This will also show any issues if raspastro-web.py failed to run.
I also installed KStars using the install-kstars.sh script. Building KStars took a good while, but it compiled and installed without issue. I also installed and enabled VNC using raspi-conf which allows connection to the desktop over the network to run KStars on the Libre Computer.
No issues at all with INDI Server, INDI Web Manager, RaspAstroWeb, or KStars. Other than wishing it had one more USB port, I think the Libre Computer Renegade ROC RK3328-CC should work just fine for my EAA sessions. Looking forward to a clear night to give it a try with real gear instead of Simulators. I’ll let you know if I run into any issues.