Exploring the Suffolk Virginia Night Sky – Astronomy, Astrophotography, Telescopes, EAA – Planets and Stars and Nebula and Galaxies – Looking, Learning, Sharing… Let's see what we can see…
I have been tinkering with using a Raspberry Pi and my SV305 as an indi-allsky camera over the last week or so. In this post I am just documenting the different configuration settings I have been trying to get the most out of the SV305 with this AllSky camera project.
I am mostly using the indi-allsky default settings but I have experimented and tinkered with adjusting a few of them. The Target ADU is set to the default of 75. The maximum exposure is set to the default 15 seconds. The default exposure and min exposure are set to auto (0), which is also the default. INDI-AllSky adjust the exposure time based on the analog-to-digital units (ADU) it calculates as images are captured.
Some things I have changed attempting to get the best images across all the different modes (Day, Night, and Moon) are the gain setting for the different modes and the auto white balance setting. I have also experimented with doing manual color balancing.
Gain
I have played around with the gain settings a whole lot, trying different settings for the different modes. Here are the gain settings I am currently using with the SV305 camera as an indi-allsky camera.
Night Mode: 275
Moon Mode: 250
Day Mode: 10
Binning for all modes is set to 1.
Anytime I update the gain settings I cover the camera and reshoot the darks.
Auto White Balance
There is an Auto White Balance switch, which is off by default. This is the easy button for color balance. Auto White Balance seems to work well except during sunset and sunrise. With Auto White Balance enabled there is a lot of red “noise” during these transitions. Other than the red noise at sunset and sunrise it does give a decent image with the color balance very near to what you see with the naked eye. Auto White Balance also tends to lean a little more red at night, but just a little.
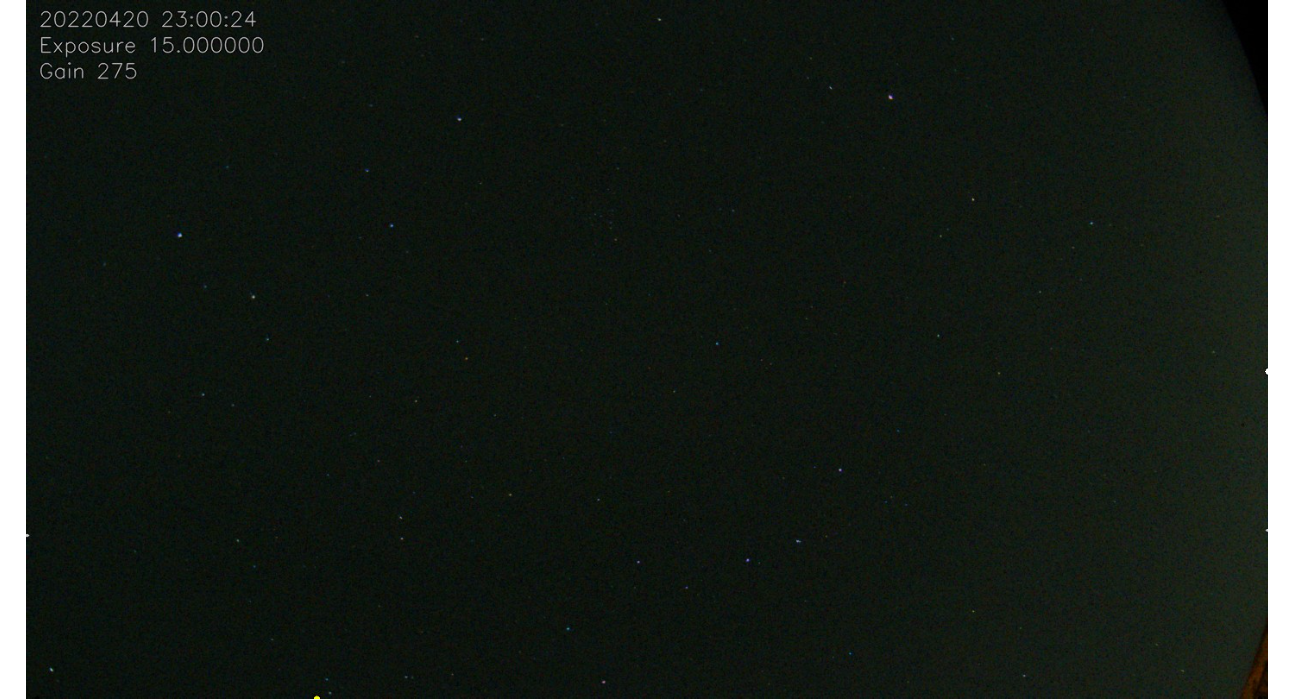
Here is a capture with Auto White Balance Enabled from 04/19/2022 at 11 PM.
The big dipper is in the bottom of a FOV and there is an airplane photo bomb in the capture.
Manual Color Balance
I have been also been tinkering with the RGB white balance settings (thanks to Aaron, the indi-allsky developer, for the tips). Without the Auto White Balance enabled the color settings can be set in the INDI Configuration. Here are the INDI Configuration settings I am using for the SV305:
{

"PROPERTIES": {

"CCD_WBR": {

"WBR": 118

},

"CCD_WBG": {

"WBG": 70

},

"CCD_WBB": {

"WBB": 125

},

"CCD_GAMMA": {

"GAMMA": 90

}

},

"SWITCHES": {

"FRAME_FORMAT": {

"off": [

"FORMAT_RAW8"

],

"on": [

"FORMAT_RAW12"

]

}

}

}
Note that these manual color settings are ignored if Auto White Balance is enabled.
With these settings the sky does show a little more blue during the day and a bit green at night. The daytime sky looks really nice, especially when there are a few clouds, even if the blue is a bit deeper than what you see when you actually look up. The transitions at sunset and sunrise are also nice with out so much red noise which I get using the Auto White Balance. Clouds at night show a little more green, but overall it still provides a nice image.
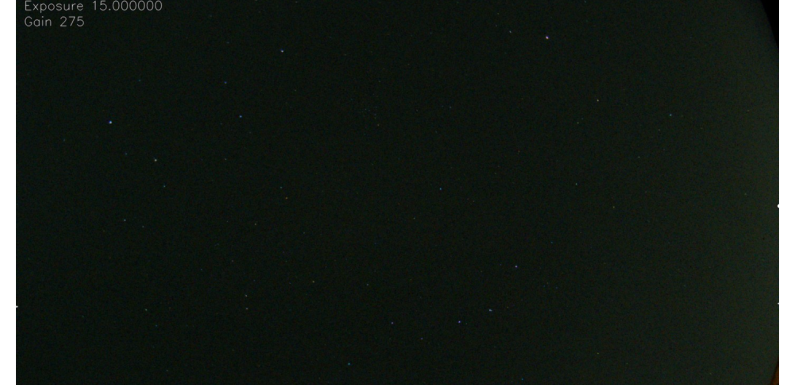
Here is an image from 4/19/2022 at 11 PM with the manual color balance settings above.
The big dipper can be seen in the bottom of the FOV.
For now I am liking the images captured using the manual configuration. Going to keep these settings but may make some small adjustments over time.
Shooting Darks
I have created darks for all the different gains I am experimenting with. Anytime you change gain settings or update camera settings you should shoot a new set of darks.
cd ~/indi-allsky

systemctl --user stop indi-allsky

source virtualenv/indi-allsky/bin/activate

./darks.py average
It takes about 15 or 20 minutes to shoot the darks for the different gain settings to my max exposure time (15 seconds). Other options for darks.py can be found on the Dark Calibration Frames indi-allsky wiki page
Logging
INDI-AllSky logs to /var/log/indi-allsky/indi-allsky.log. There is a lot of information you can get from the log which can help you troubleshoot.
For example if you want to validate that darks are being applied grep the log in realtime:
tail -f /var/log/indi-allsky/indi-allsky.log | grep dark
You should see messages where the image worker is looking for a dark frame and if it matched one for the exposure and gain settings:
Apr 16 09:20:16 allskypi [INFO] ImageWorker001 image.calibrate() #540: Searching for dark frame: gain 10, exposure >= 0.0, temp >= -273.1c

Apr 16 09:20:16 allskypi [INFO] ImageWorker001 image.calibrate() #593: Matched dark: /var/www/html/allsky/images/darks/dark_ccd1_16bit_1s_gain10_bin1_-273c_20220414_101611.fit

Apr 16 09:20:31 allskypi [INFO] ImageWorker001 image.calibrate() #540: Searching for dark frame: gain 10, exposure >= 0.0, temp >= -273.1c

Apr 16 09:20:31 allskypi [INFO] ImageWorker001 image.calibrate() #593: Matched dark: /var/www/html/allsky/images/darks/dark_ccd1_16bit_1s_gain10_bin1_-273c_20220414_101611.fit
The logs are rotated and zipped regularly so they do not consume too much space.
Have a look…
Another thing I worked out was uploading the images to share. This can be configured in the indi-allsky configuration, but I had some issues with authentication so I am using sftp and cron to upload a image every 5 minutes.
I wrote a bash script to sftp the latest image to my WordPress site.
#!/bin/bash

#

# This is run via cron every 5 minutes

# */5 * * * * /home/pi/uploadsuffolksky.sh

#

# Use sftp to copy the the allsky latest.jpg to suffolksky.com

#

sftp -i [pemcertificatefile] [username]@www.suffolksky.com:[/path/to/wordpress/] <<< $'put /var/www/html/allsky/images/latest.jpg'
The script is essentially a sftp one-liner which authenticates using my certificate and puts the latest.jpg from indi-allsky where I want it in the WordPress directory. It overwrites the previous lastest.jpg. I am using cron to execute the script every 5 mintues.
More to come...
For the past couple weeks my indi-allsky camera has been setting in the driveway while I experiment with settings. The weather-resistant enclosure survived a pretty good thunderstorm the other night. No issues with water getting into the dome or the junction box. I am still trying to find a more permanent home for the camera.
I have been having a lot of fun with this AllSky camera project.
Hoping for clear skies this weekend so I can get back to doing some EAA.