Exploring the Suffolk Virginia Night Sky – Astronomy, Astrophotography, Telescopes, EAA – Planets and Stars and Nebula and Galaxies – Looking, Learning, Sharing… Let's see what we can see…
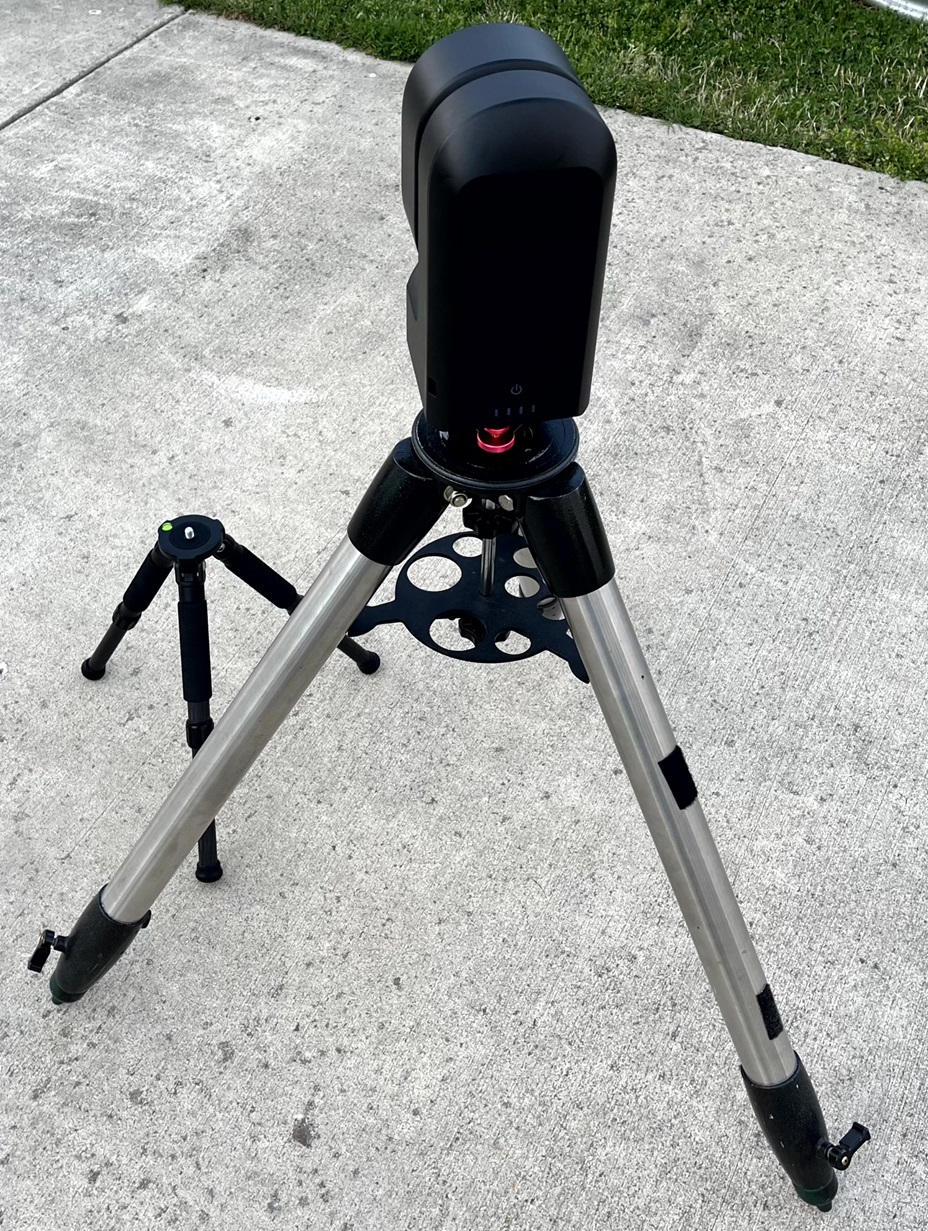
The SeeStar S50 tripod is light and fairly sturdy, however even with the legs fully extended it only raises the SeeStar a little more than a foot (1′) off the ground. The SeeStar tripod will definitely be great for traveling, but I wanted something to get it a bit higher off the driveway when I am observing it at home. I have my old CG5 tripod which has not been doing much since I picked up the EQ-6R mount so I rigged up the CG5 tripod so the SeeStar can be mounted on it when I am set up in the backyard.
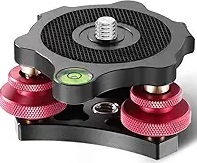
The SeeStar is threaded 3/8″ for attaching to a tripod, which is pretty common, but the screw on the CG5 mount is a metric M10. I picked up this M10 Female to 3/8″ Male adapter along with this inexpensive tripod head leveling base from Amazon to make things work. The adapter will take the M10 screw on the tripod and adapt it to the 3/8″ threaded hole on the tripod head leveling base.
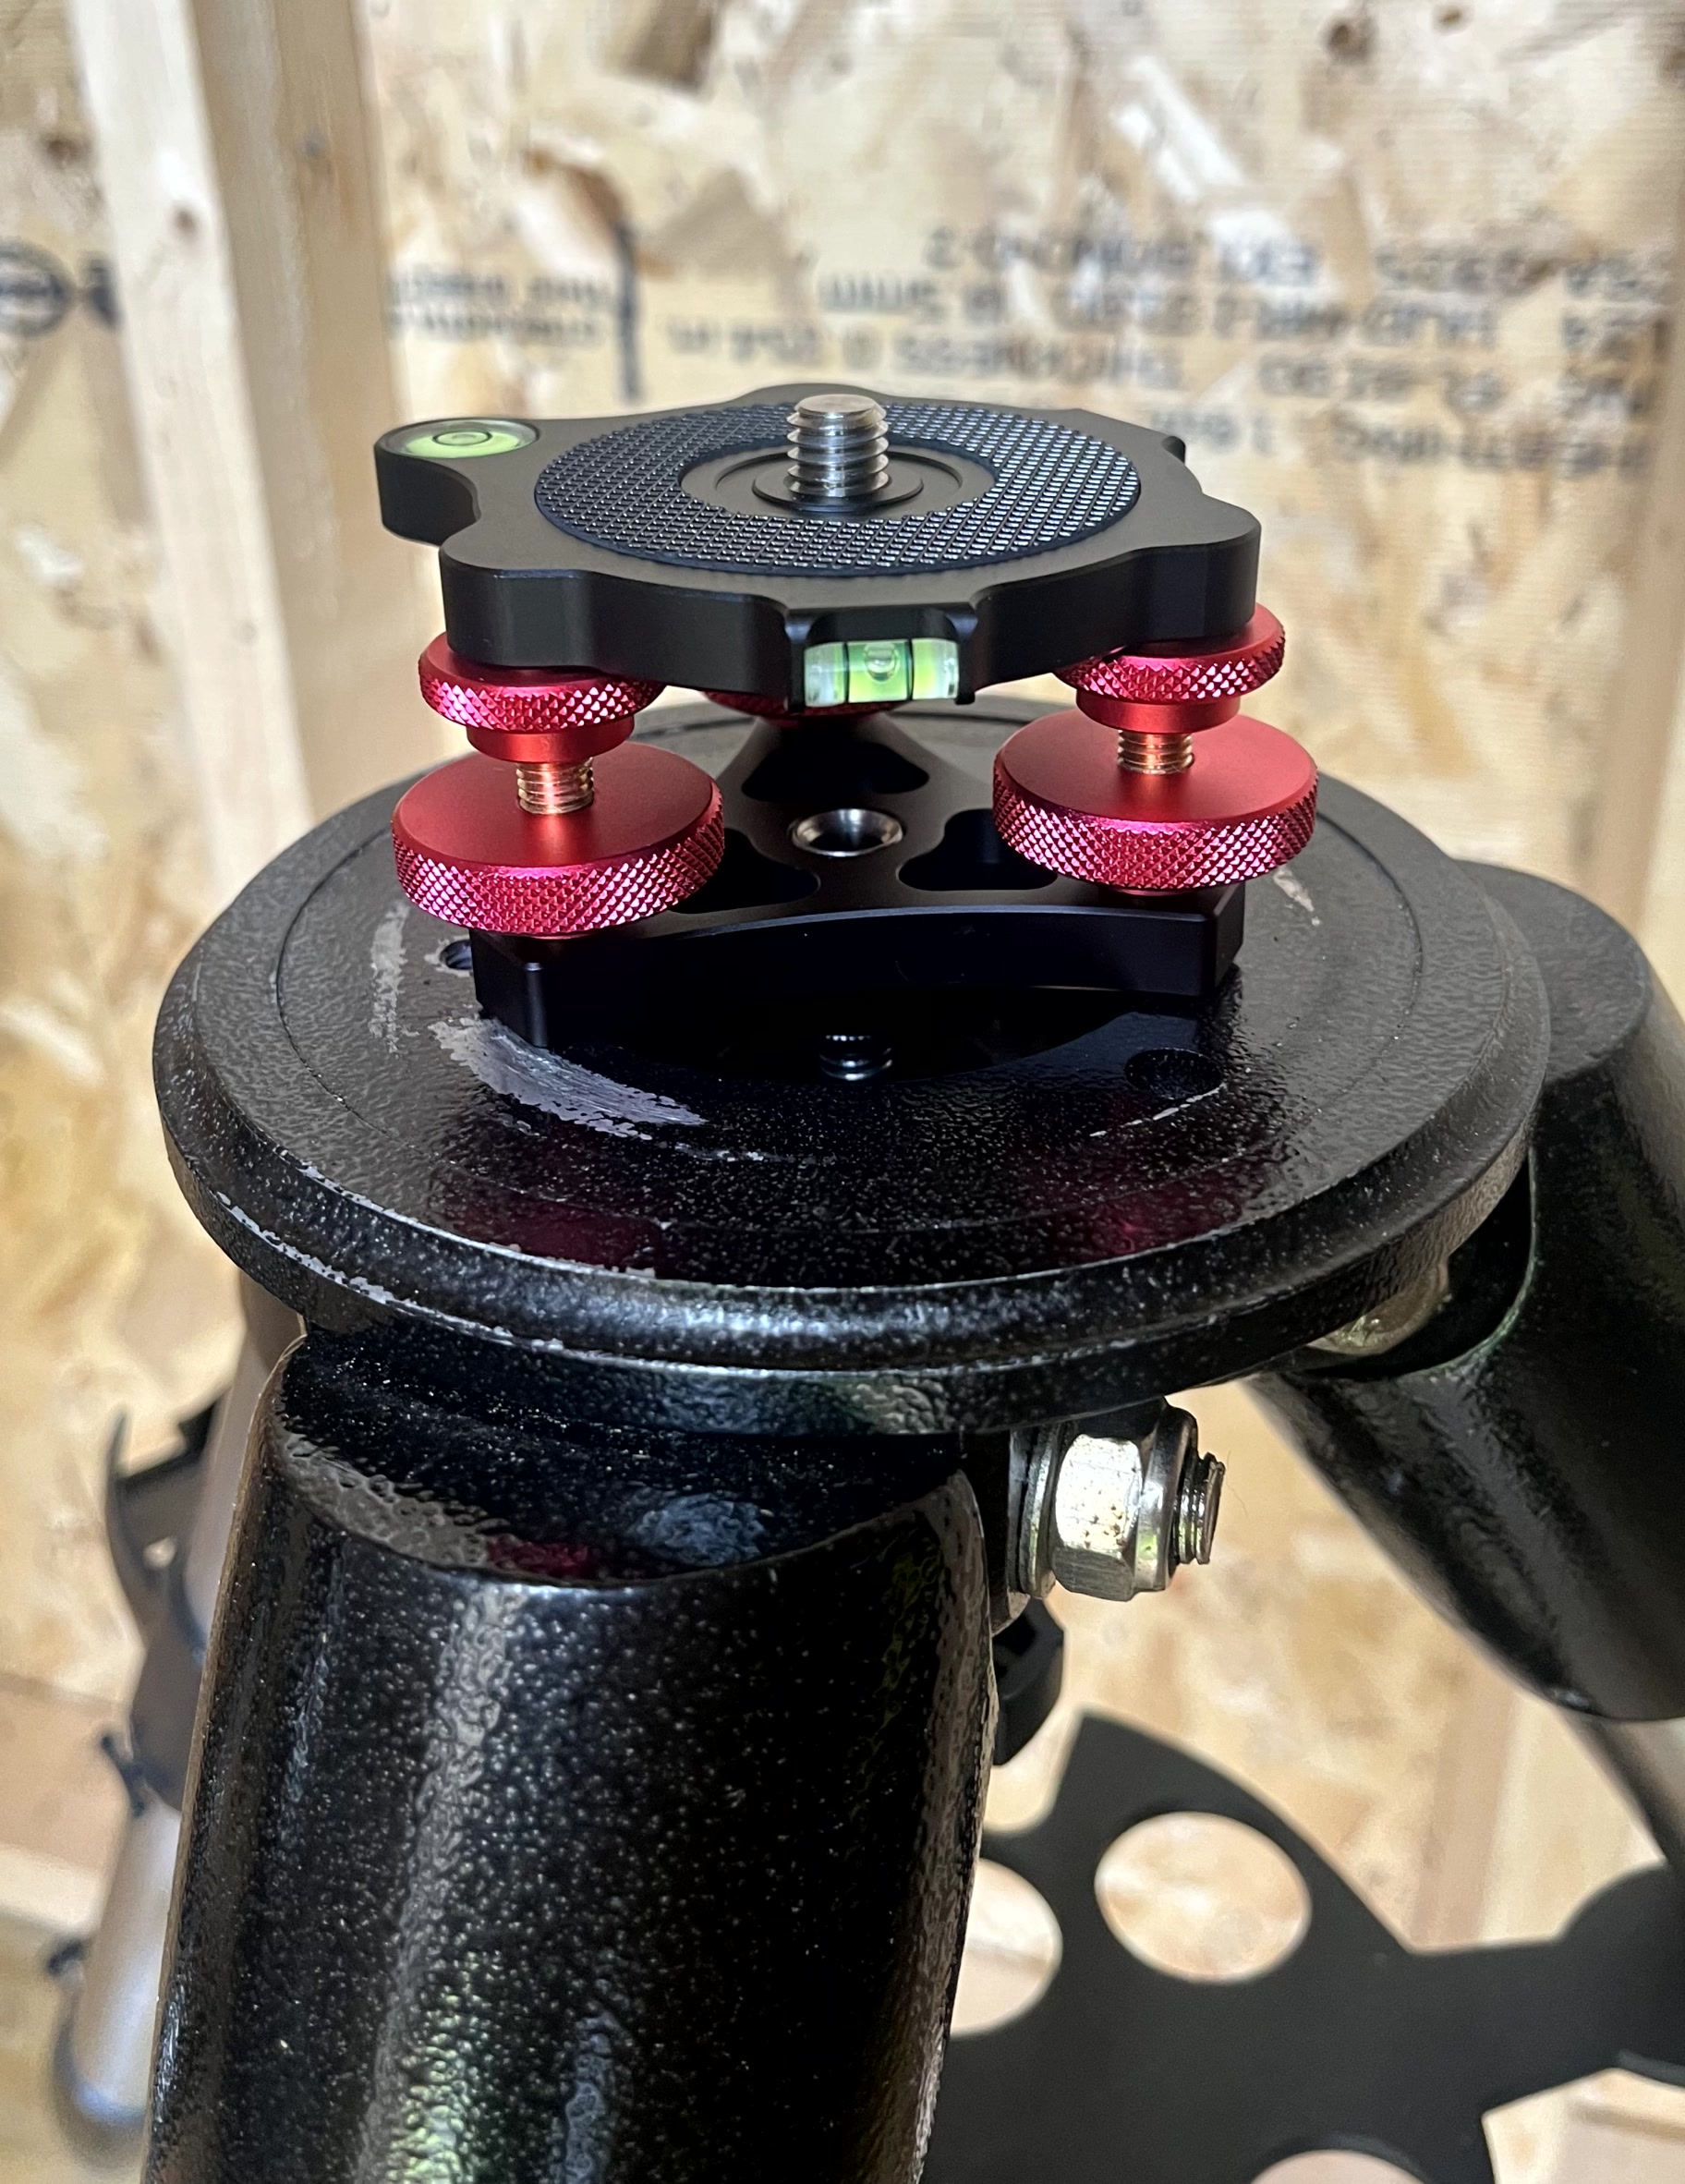
The post on the top of the CG5 tripod used as a stop for the mount’s polar alignment altitude and azimuth adjustment screws needs to be removed. There is a locking nut on it, just loosen it and the post will just screw out. The M10 screw of the CG5 tripod attaches to the M10 to 3/8″ adapter which then screws directly into the tripod head leveling base.
Then the SeeStar S50 screws directly onto the leveling base. Pretty easy and very strudy. The SeeStar mounts nice and securely to the CG5 tripod. In the picture below the tripod which is included with the SeeStar is to the left for comparison.
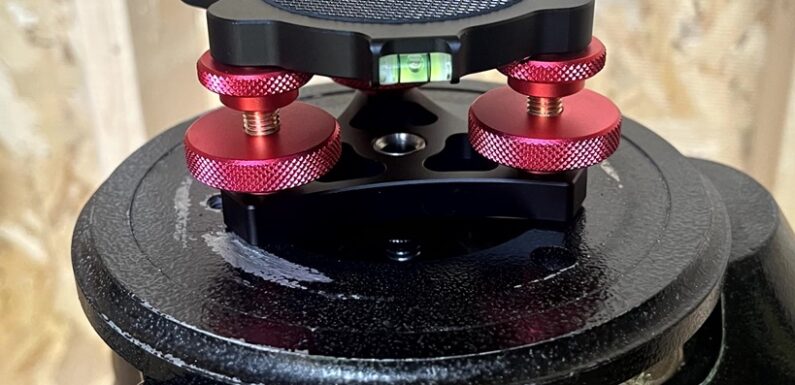
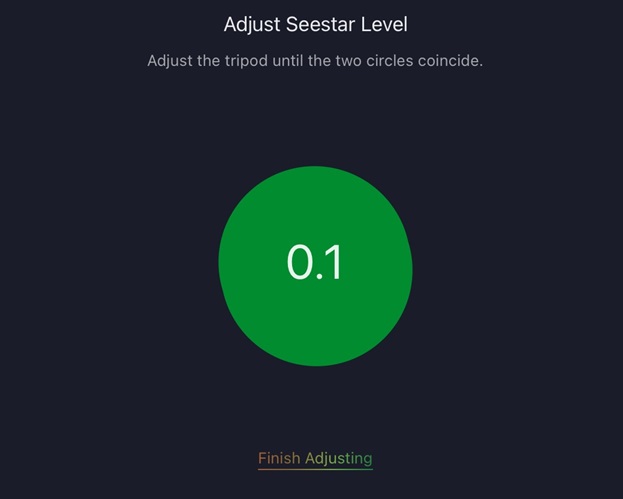
Even without the legs extended on the CG5 tripod the SeeStar sits much higher off the ground and is not quite as top heavy. Leveling is easy using the app and the tripod head leveling base, no need to fuss with the tripod legs. Level is adjusted with the larger bottom thumbwheels on the leveling base. Once the SeeStar is leveled the smaller top thumbwheels can be tightened to lock it in place.
When adjusting level of the SeeStar tripod without the leveling base, the best I ever achieved in the app was around 0.5, which is still acceptable, but adjusting with the leveling base I was able to get level to where it was flickering between 0.1 and 0.0 (I tried to capture the 0.0 in the screenshot as it flickered, but could only get the 0.1).
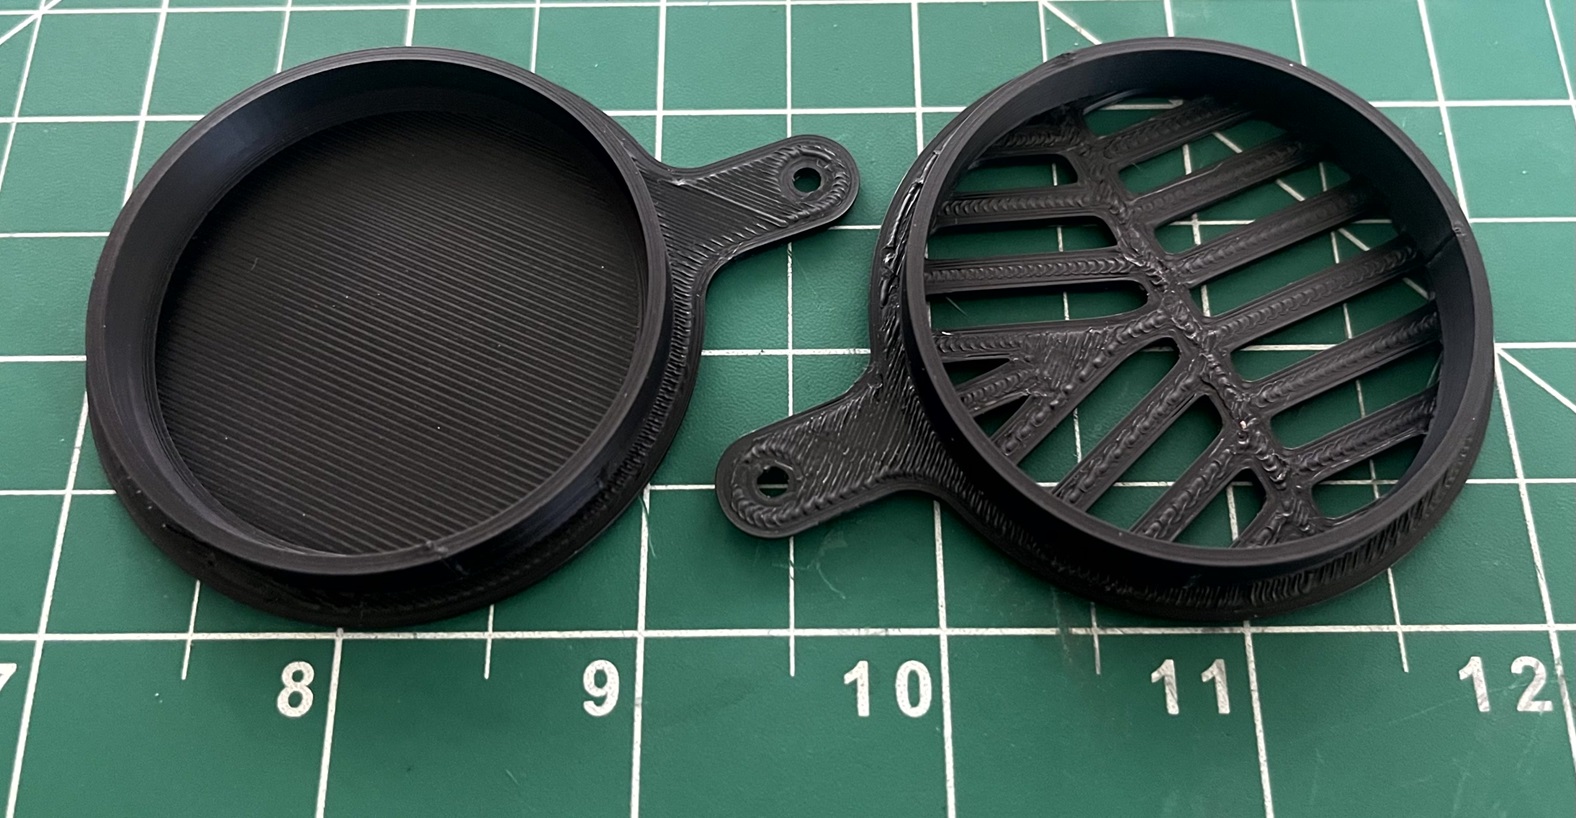
I 3D Printed a couple of caps. This SeeStar Bahtinov Mask (Thing:6438971). The auto focus seems to work pretty well, especially on brighter objects. This mask should help me get the focus dialed in or double check the auto focus. Looking forward to trying it out.
The SeeStar Lens Cap (Thing:6408524) was 3D Printed the day I received the scope. Fits great even when the scope is parked.
Was hoping to get a peak at the Sun but it stayed behind the clouds most of the day. Just waiting on a clear sky.