Exploring the Suffolk Virginia Night Sky – Astronomy, Astrophotography, Telescopes, EAA – Planets and Stars and Nebula and Galaxies – Looking, Learning, Sharing… Let's see what we can see…
I have thought about picking up a SeeStar S50 a few times, it has made it into my AgenaAstro cart more than once. After seeing some of the images captured, and watching a NightSkiesNetwork.com broadcast, using the SeeStar S50 during the Solar Eclipse I decided to finally hit the “Checkout” button. I ordered my SeeStar S50 on 4/10, AgenaAstro shipped it on 4/11, and arrived at my door on 4/16.
There are a few of reasons I decided to pull the trigger and order the SeeStar S50. The first is it is just cool technology, a triplet smart telescope you control from your phone. Second is the size; nothing I have today is light or easy travel with. Of course, seeing some of the results from the eclipse also played a roll. Finally, and this was the real deciding factor, the ability to get back to doing more EAA. I am really enjoying the results of longer exposure astrophotography, but I miss the ability to observe 10, sometimes 15, objects during an observing session. With the addition of the SeeStar S50 I am hoping I can bounce around the sky visiting many objects during an EAA session while my primary setup is capturing long exposures of far away things.
The Seestar S50 is a portable, easy-to-use, smart telescope which allows even someone new to astronomy to quickly begin exploring the night sky. This is definitely a great gadget for anyone looking to do some observing but does not want to make the investment, of money or time, required for a full on EAA or astrophotography rig. It weighs right around 6 lbs and has a battery life of ~6 hours, which can be extended using an external USB battery pack or plugging into utility power (it will charge while in use). There is also an integrated dew heater to keep the glass dry on a humid night and an integrated duo-band filter for observing nebula. This little smart telescope really has everything you need to observe the Sun, the Moon, and deep sky objects.
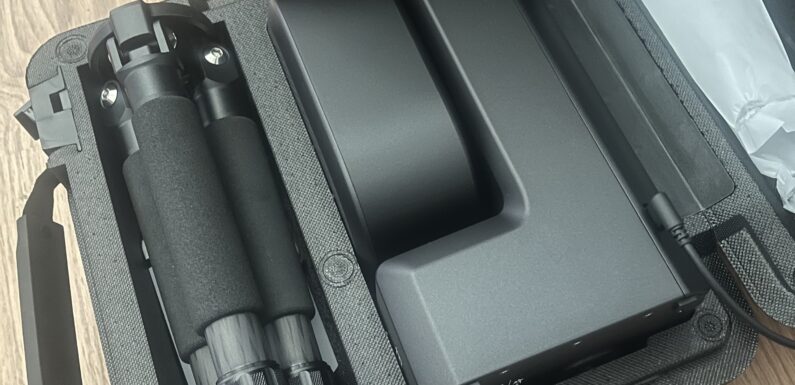
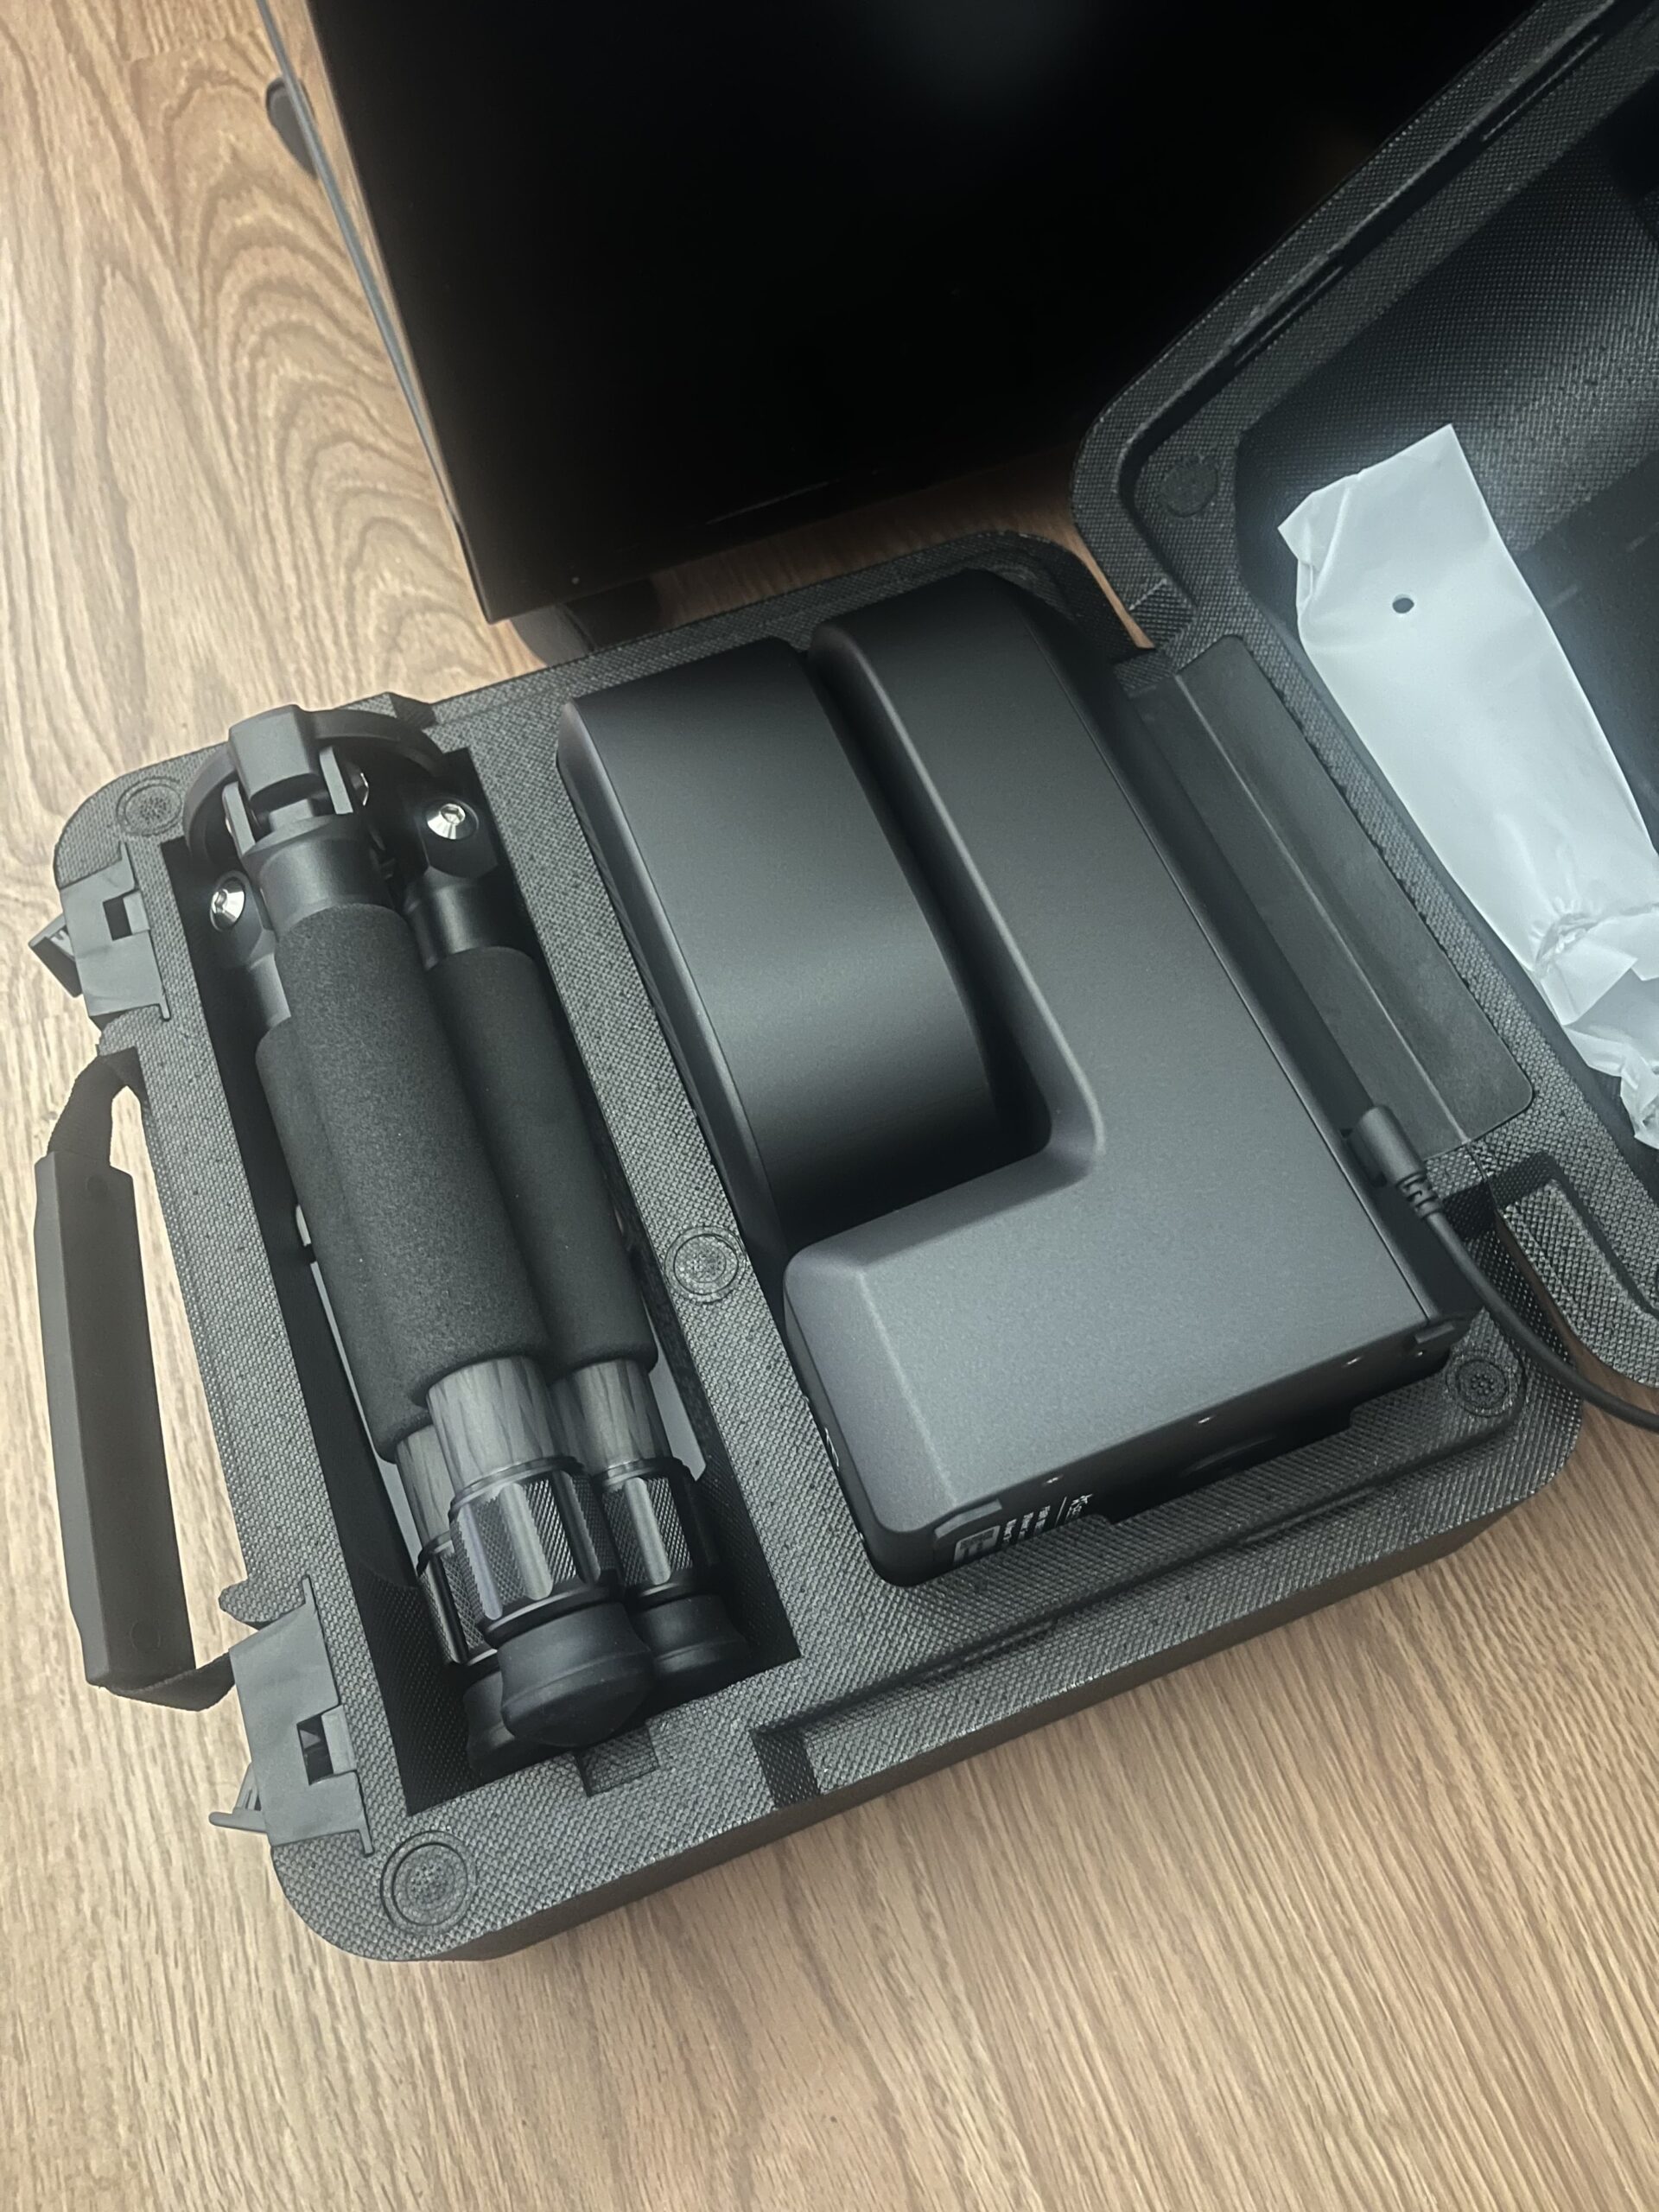
The SeeStar arrived double boxed and packaged in a nice hard styrofoam case. It includes a nice tripod, a charging cable, a solar filter, and a quick start guide. The way it is stored in the case keeps the SeeStar nice and secure. You can easily access the charging port without removing the SeeStar from the case.
After unpacking and checking the contents I used the USB cable to fully charge the SeeStar. Downloaded the SeeStar App to my iPad and then it was out to the driveway.
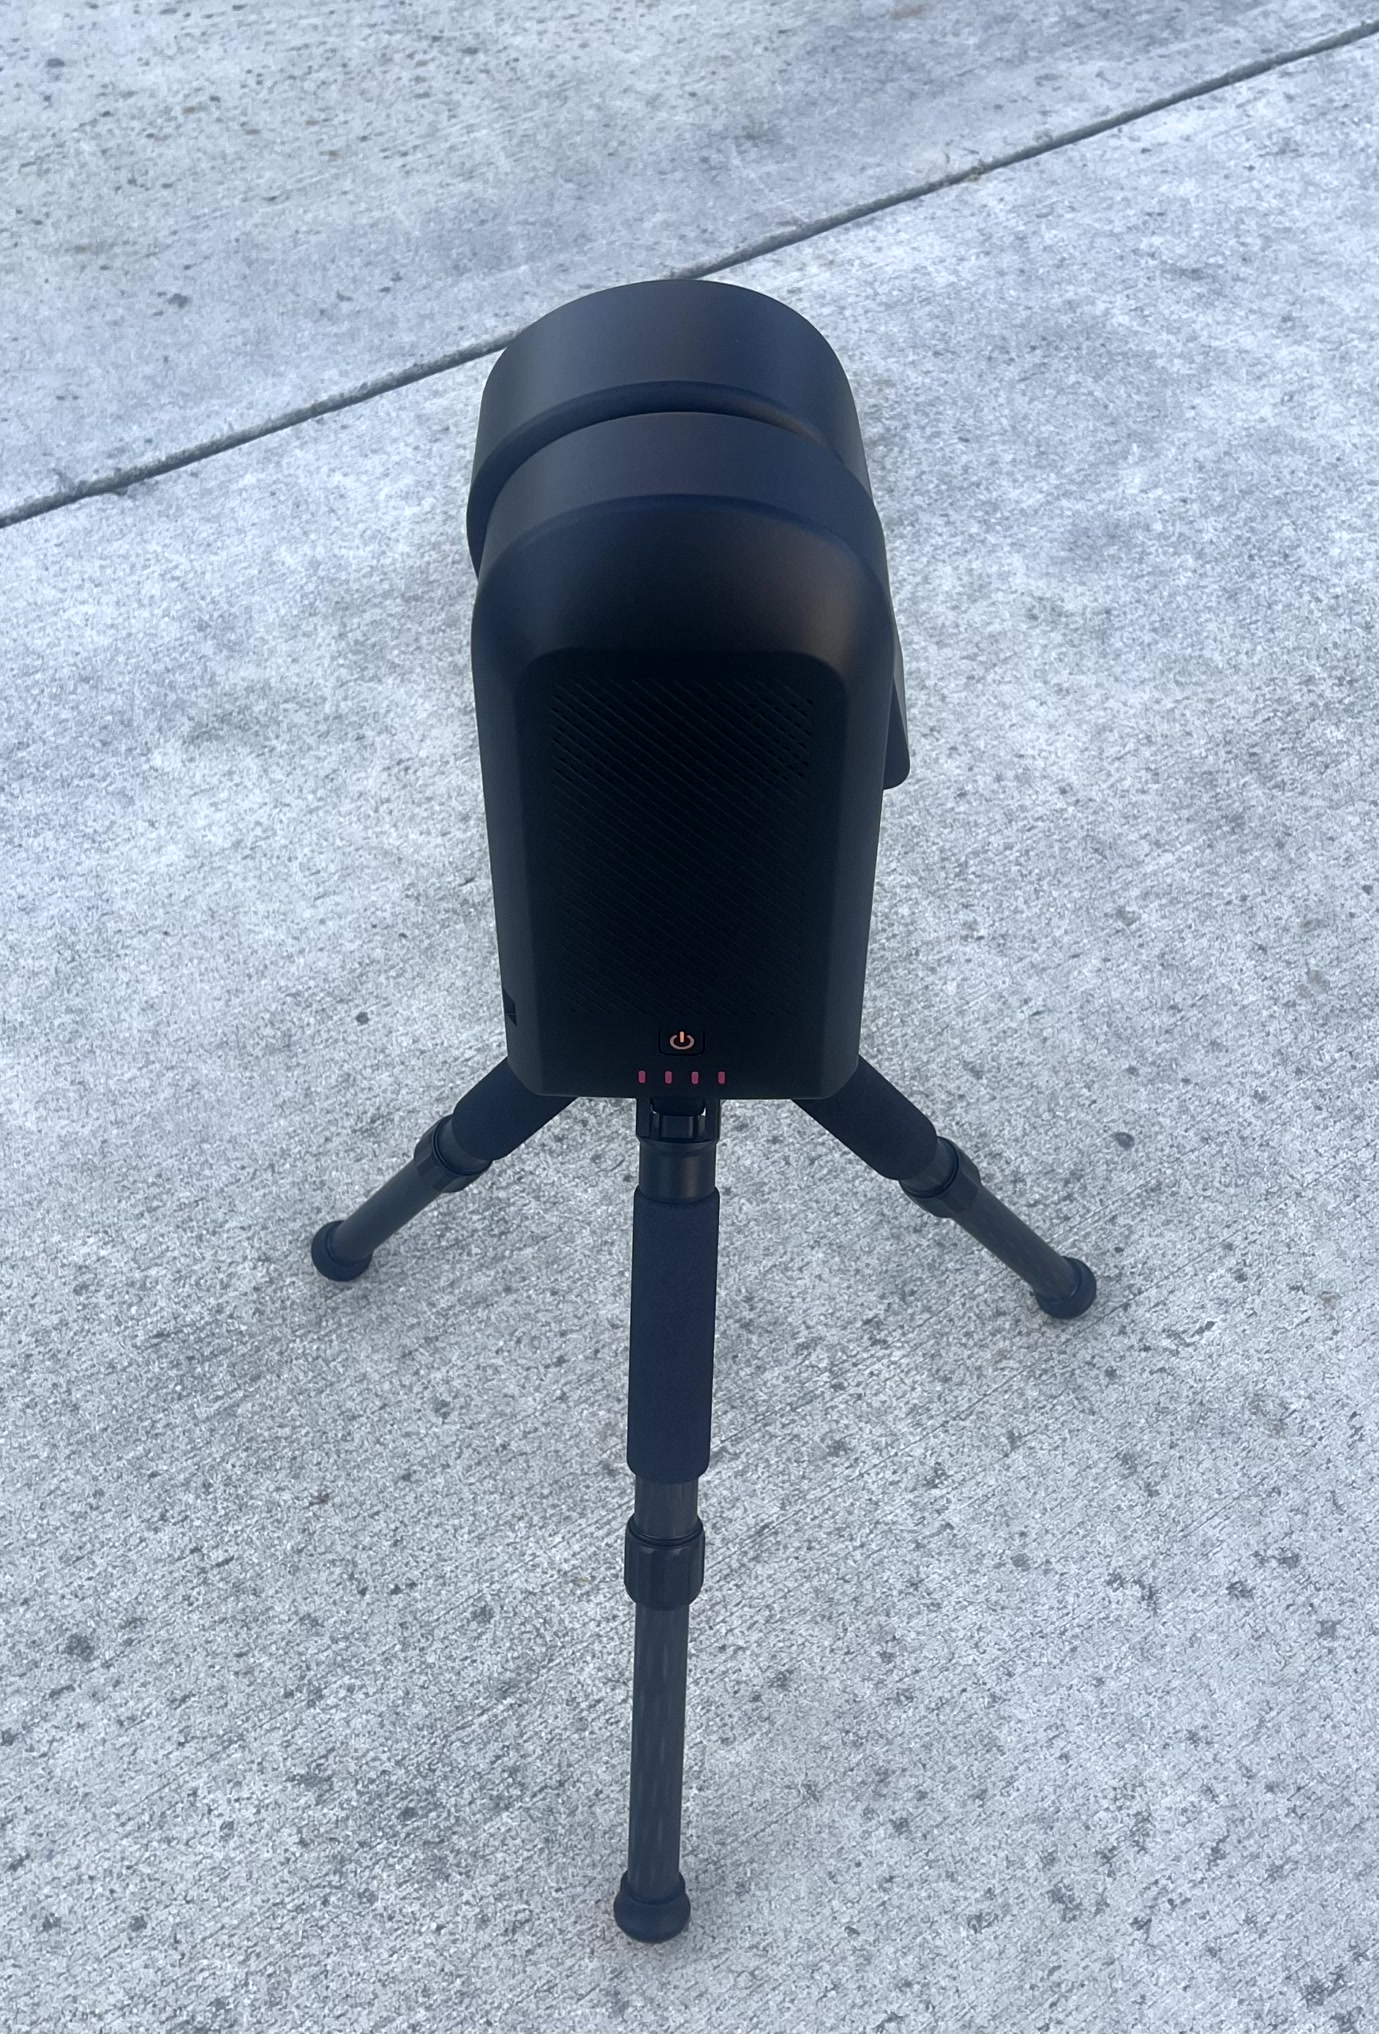
Powered on the SeeStar, fired up the app and hit the connect button. After the app “sees” the SeeStar you are instructed to push the reset button and then SeeStar connects. It then performed a firmware update which just took a couple minutes. Rebooted, reconnected, and it was ready to go. In the app I used the utilities to level the SeeStar and to calibrate the compass. Leveling and compass calibration is suppose to help with accuracy of Gotos, basically this will help get you on target and observing quicker.
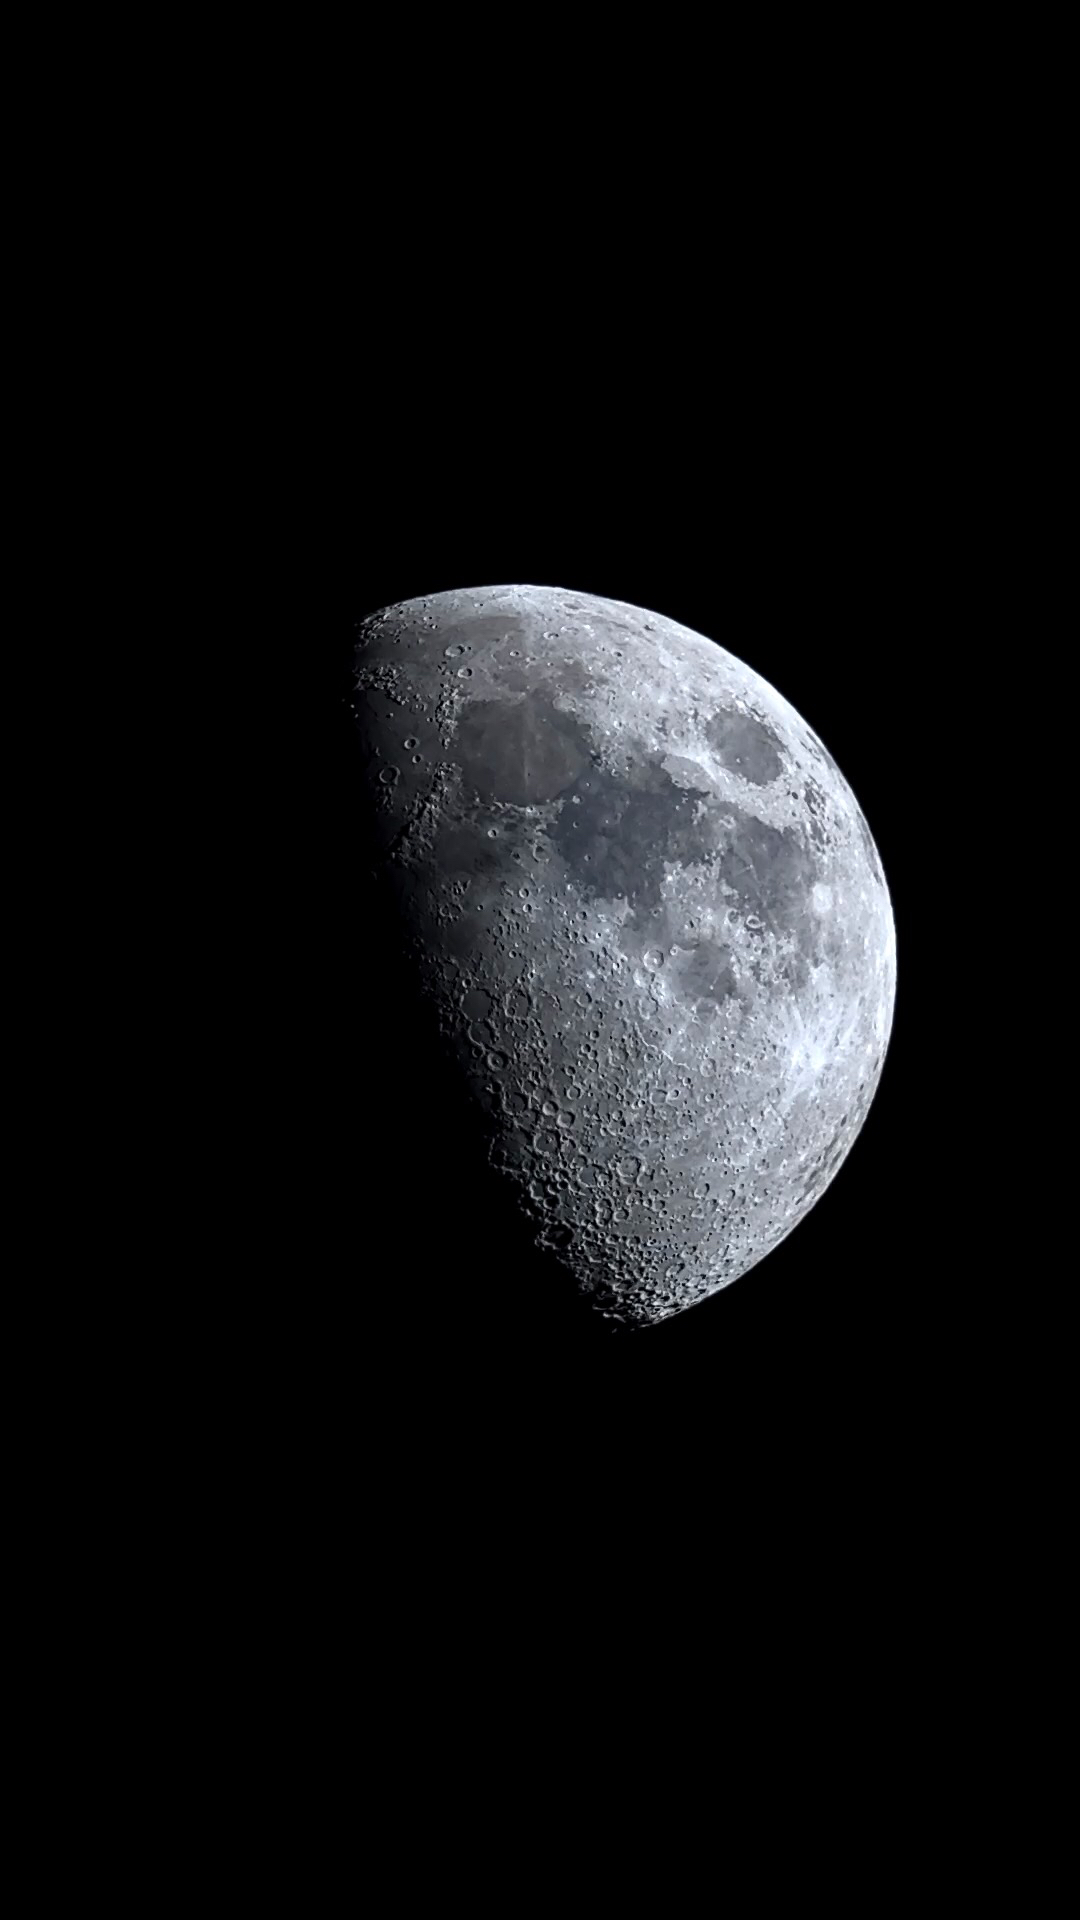
After dark I selected Lunar and the SeeStar came alive, moved to the location of the Moon, searched around for a minute or so, and then…
The Moon showed up in the middle of the iPad screen. That is pretty AMAZING!
I did a search for M 51 in the SeeStar app, since I just recently imaged it with the SVBONY SV503 102ED, hit the Goto and in a minute of so M51 was in the center of the screen. This is 17 x 20 seconds of M 51.
The Moon was bright and it was not quite astronomical twilight yet but still that is a pretty cool for less than 6 minutes of captured light from the Whirlpool Galaxy. There were also a few thin clouds making parts of the sky a little milky.
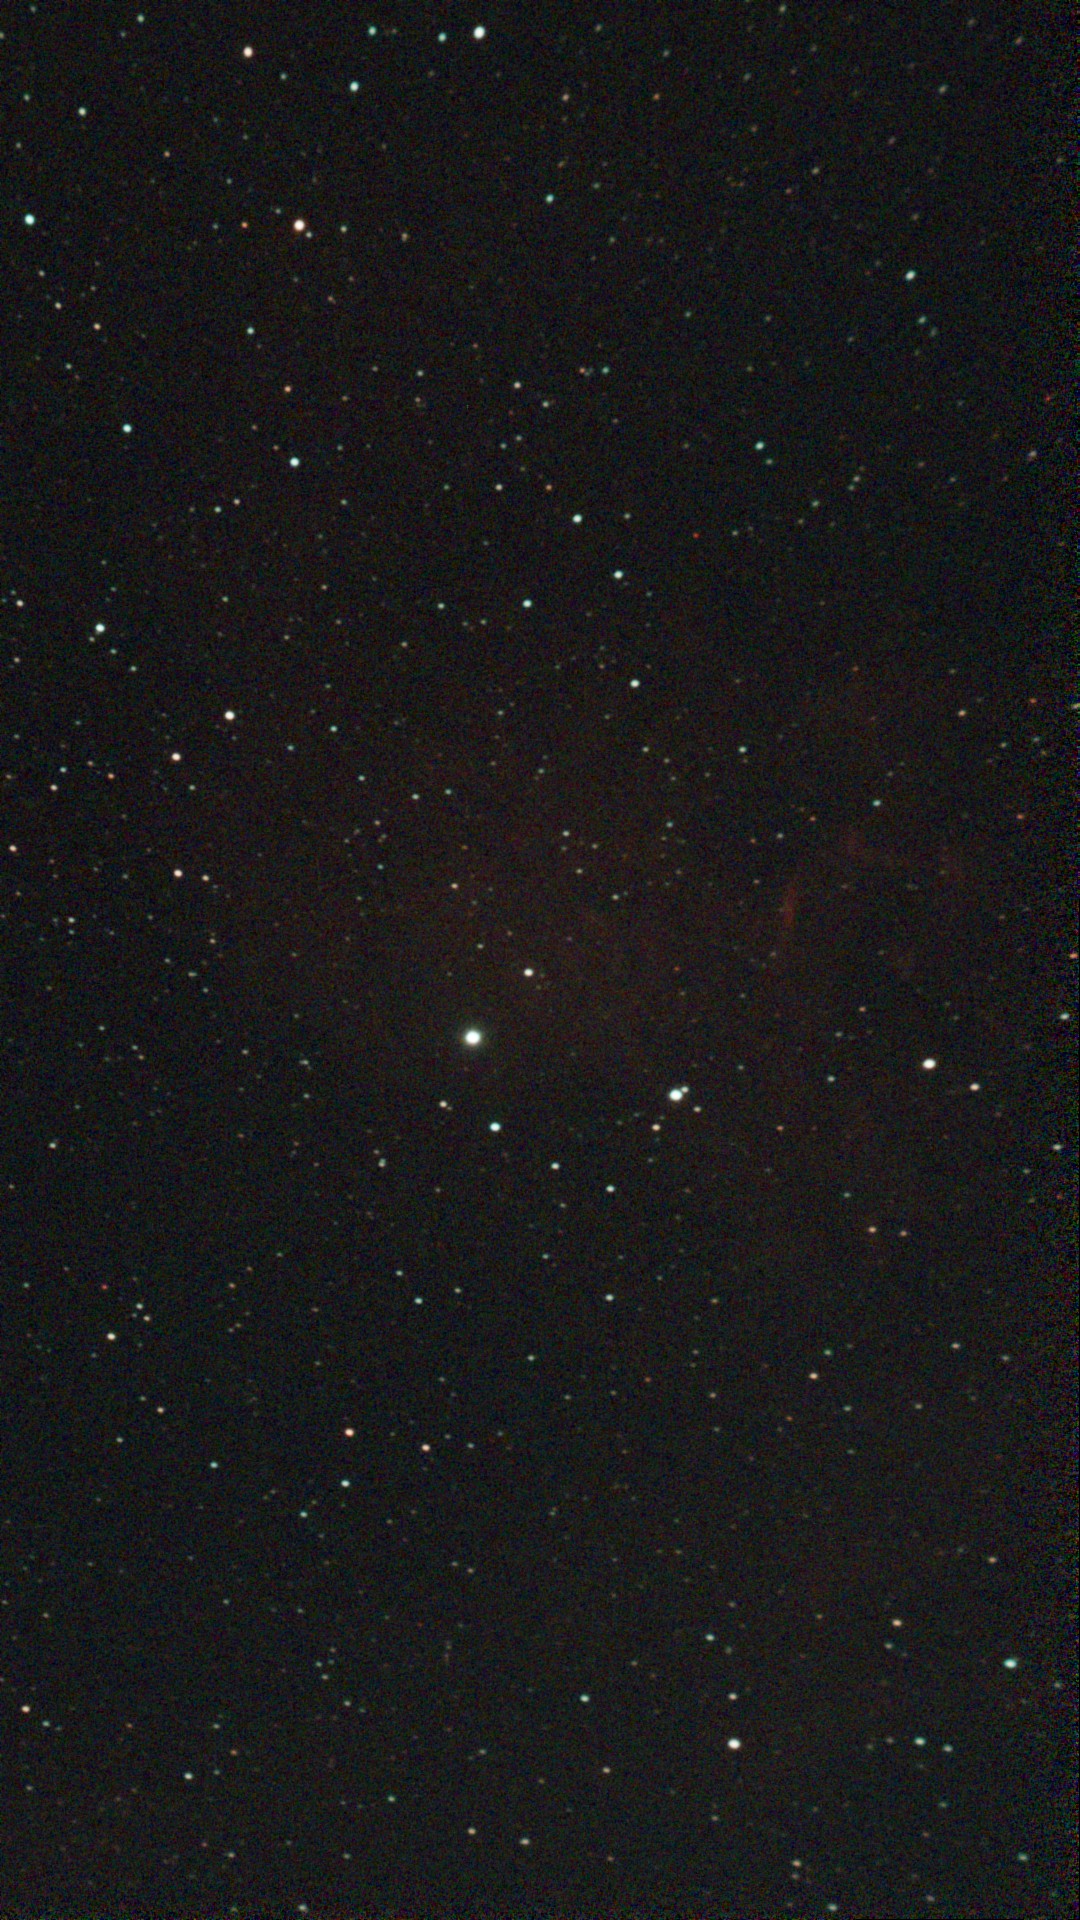
I bounced around to a couple of objects, M3 and IC 405, but it was still not quite that dark yet. One thing to note with IC 405, when it slewed to IC 405 and switched to the preview it automatically enabled the built-in filter. Some more time is needed but here are the IC 405 results.
A little bit of detail was starting to come through, you can see some cloud structure to the right of the FOV. More time and a darker sky would definitely help.
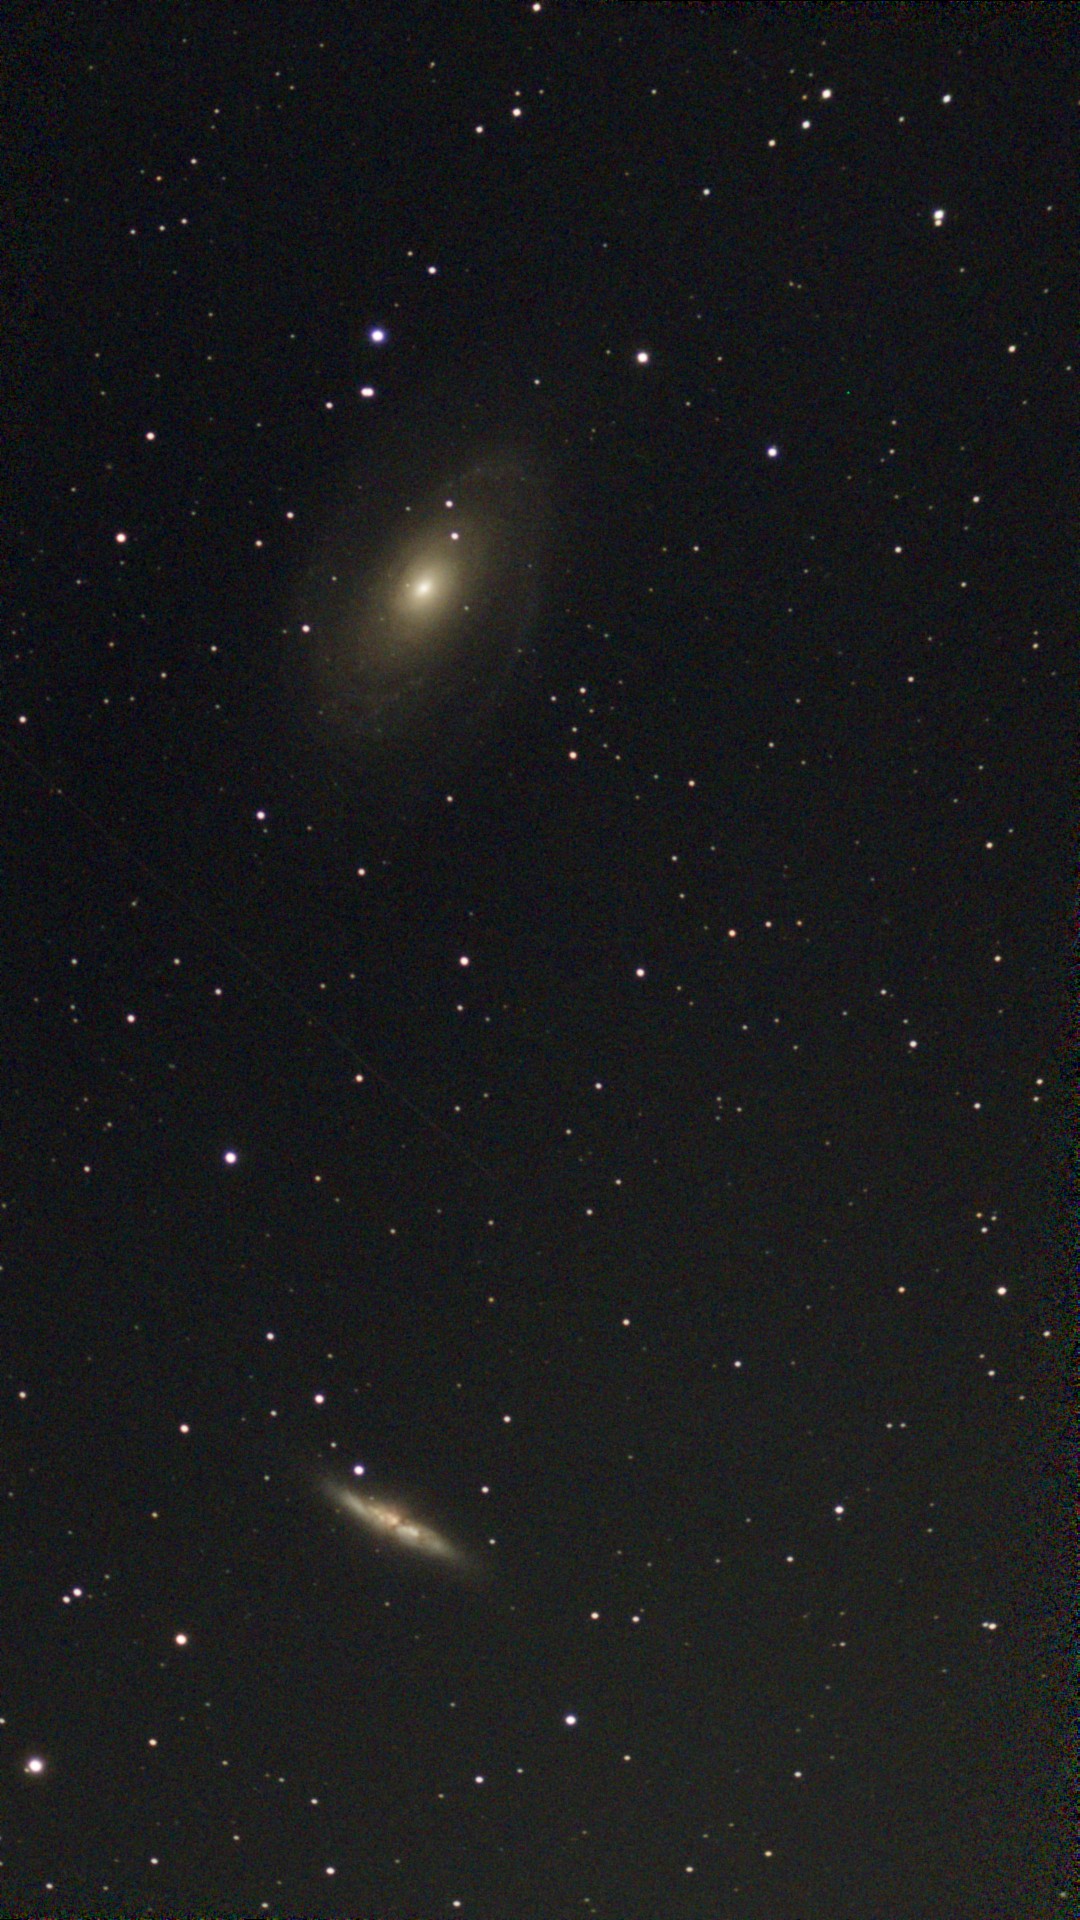
As it got a bit darker I ended up on M81 and M82. I was messing with how to frame objects and it was really easy. In the app’s planetarium just drag the FOV to how you want to frame the objects and hit Goto. I was able to get both M81 and M82 in the same field of view. This is 45 x 20 seconds from the SeeStar.
IMHO that is pretty amazing, especially since it was so easy and it is only a few minutes of light.
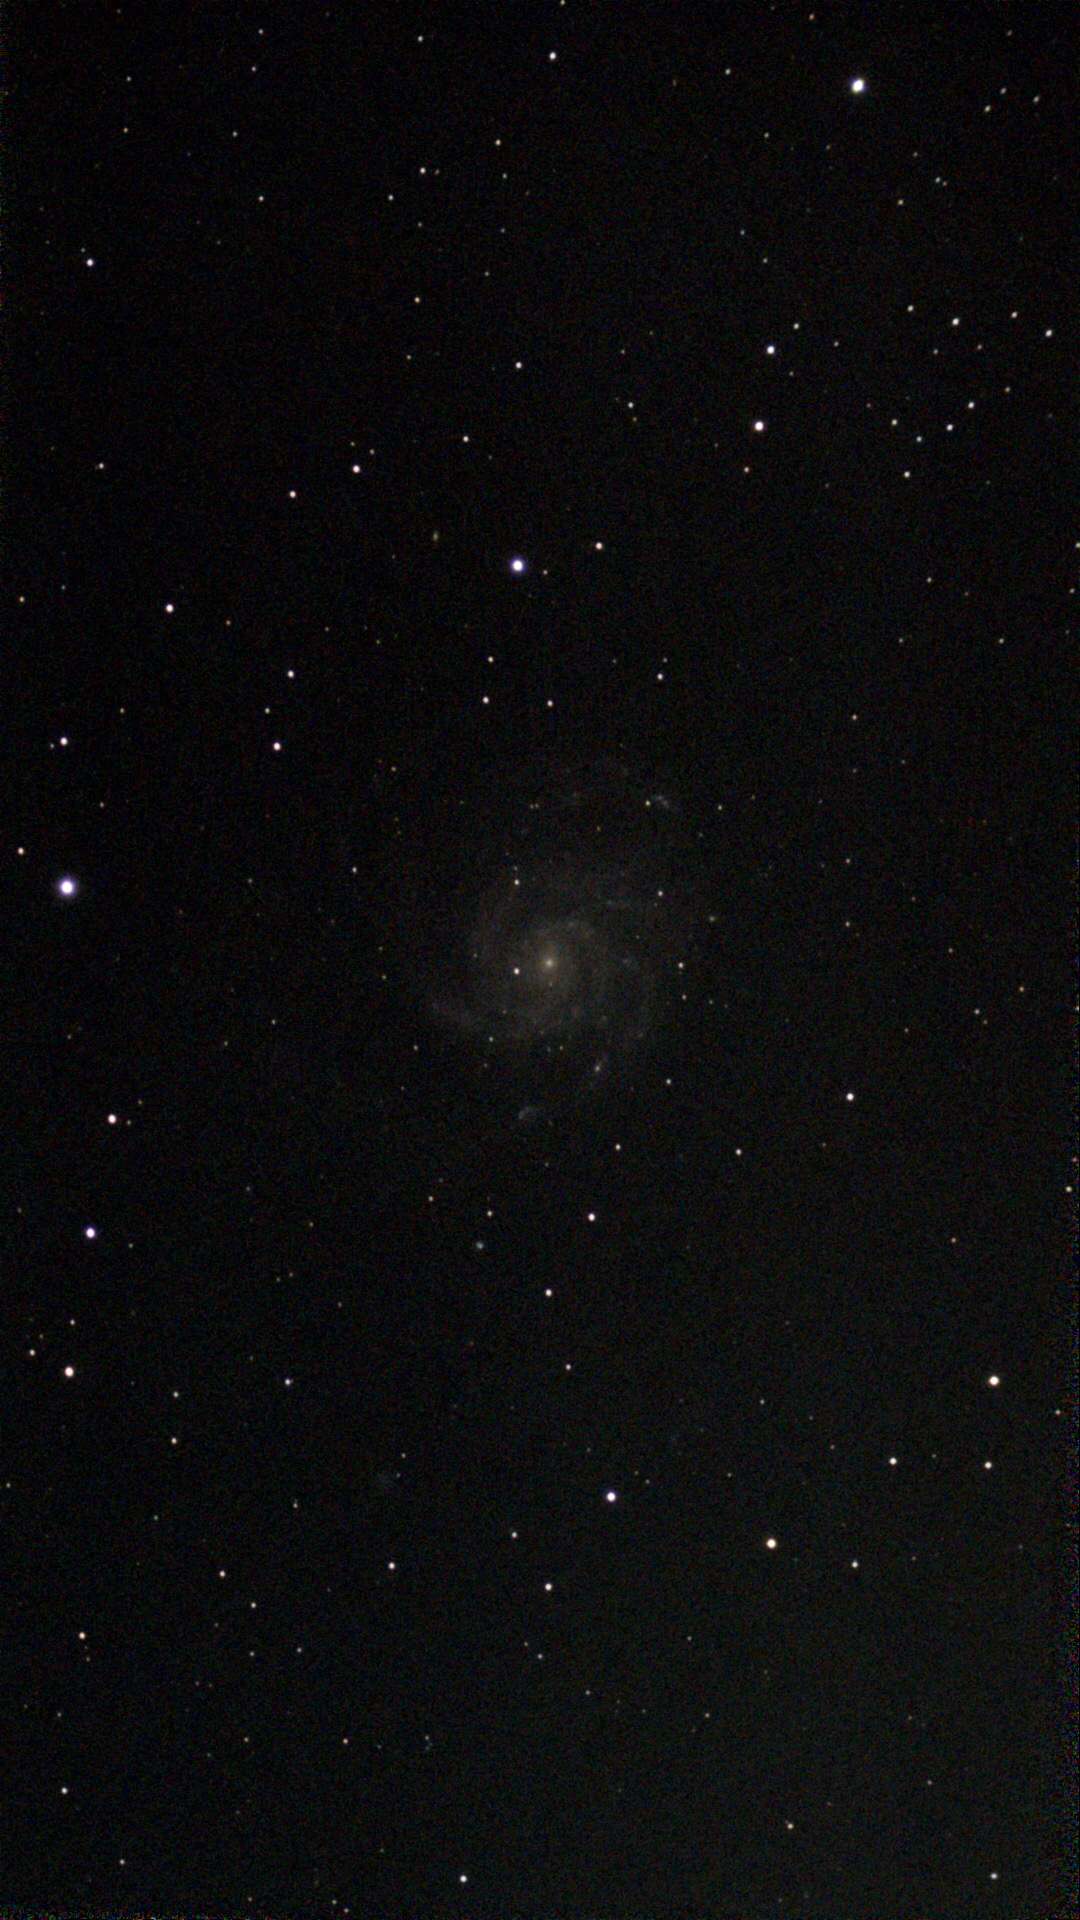
Finally I ended the night on the Pinwheel Galaxy (M101). This is about 15 minutes of 20 second exposures.
The SeeStar S50 is definitely a lot of FUN! Easy to set up, easy to use, and the results are pretty awesome. Seriously it was only a few minutes from unboxing to capturing light from the sky. Really enjoyed first light with the SeeStar and looking forward to the next night out. I’m hooked for sure.
I did 3D print a lens cap. Not sure why it does not include one. It does park in the down position and the lens is somewhat protected while parked, but dust could be a problem. There are a ton of great 3D print projects for the SeeStar, so will be exploring them a bit as well.