Exploring the Suffolk Virginia Night Sky – Astronomy, Astrophotography, Telescopes, EAA – Planets and Stars and Nebula and Galaxies – Looking, Learning, Sharing… Let's see what we can see…
The Suffolk Sky
---------------
Exploring the Suffolk Virginia Night Sky
Astronomy, Astrophotography, EAA
Planets and Stars and Nebula and Galaxies
Looking, Learning, Sharing...
Let's see what we can see...
The Astroshed – Everything has a place… A place for everything…
No not an observatory… I wish. This is not really an astronomy post, but it was a neat project and the purpose of it is to support the hobby, so I figured I would share it. I have accumulated a lot of stuff… OTAs, mounts, accessories, and other backyard astronomy related stuff. All the gear takes up a lot of space… I have astronomy gear stored in my detached garage, my attached garage, the room over my garage… kind of all over the place. Some of it I use all the time, some of it I use from time to time, some of it I should probably purge. Anyway with all the gear I have collected to support the hobby I decided to build a 4′ x 8′ lean-to-shed for the sole purpose of organizing and storing all of my astronomy gear… the… wait for it… ASTROSHED 🙂
I looked at several different shed kits and a couple of different resin sheds. The least expensive DIY kit I found was right around $1000 but it was built using 2x3s and did not include the shingles or paint. The resin sheds were a bit more and I couldn’t really find one the size/shape I wanted.
I worked on the construction of the shed over several weekends. Mostly on the weekends but I was sometimes able to work on it a bit during the week. I tried to keep track of the money I spent and the time I put into it. I am pretty close but I may have missed something here or there.
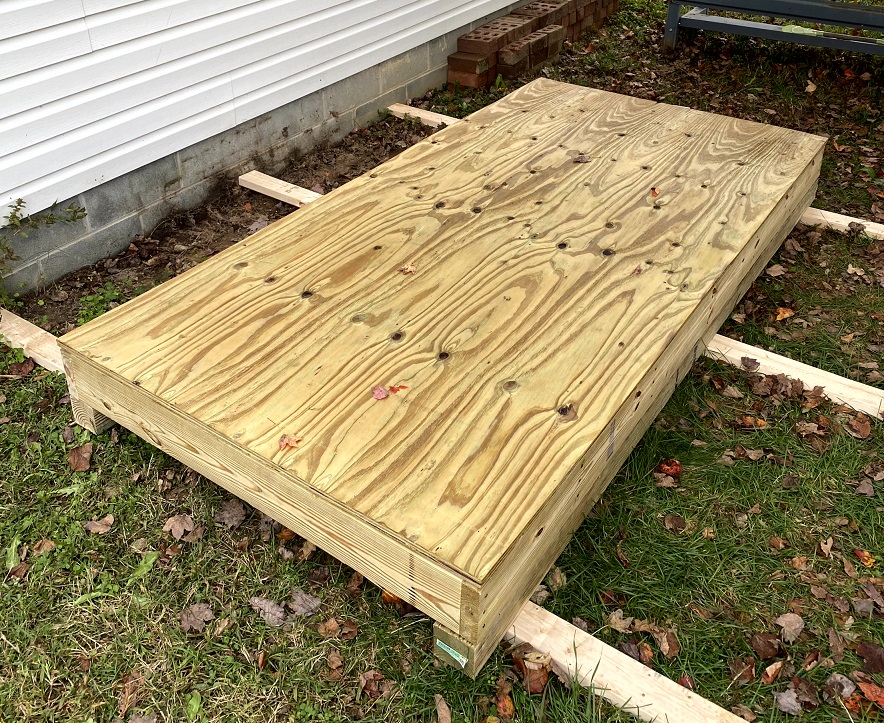
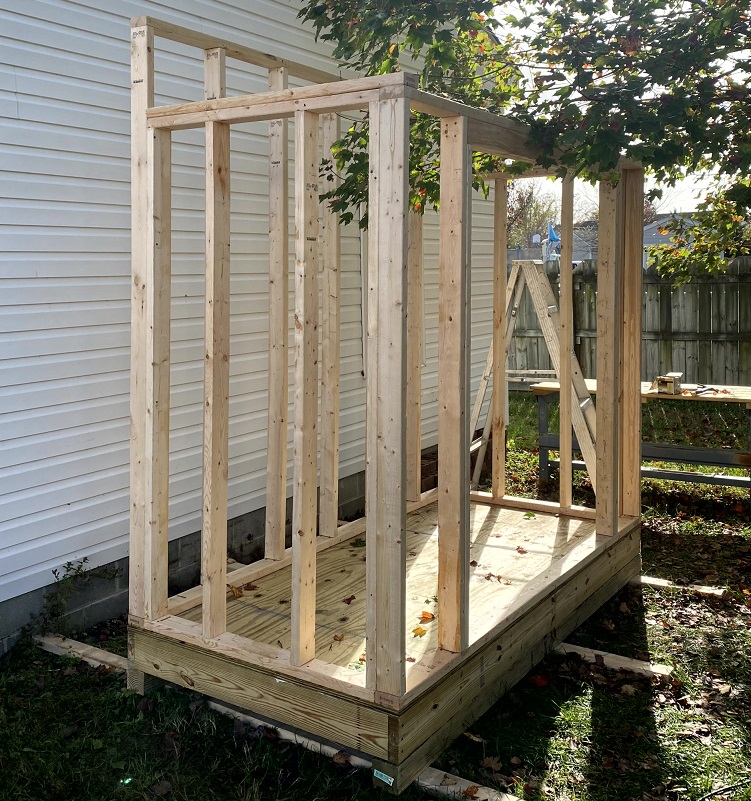
Floor, Wall Framing, Rafters
Cost: $326 – Time: ~2 hours on 11/4/2022 and ~4 hours on 11/5/2022
Picked up the first load of materials from Lowe’s on 11/2/022. This included the lumber for the skids, the floor, the wall framing, and rafters. Also the construction adhesive, nails, and screws for the floor and framing.
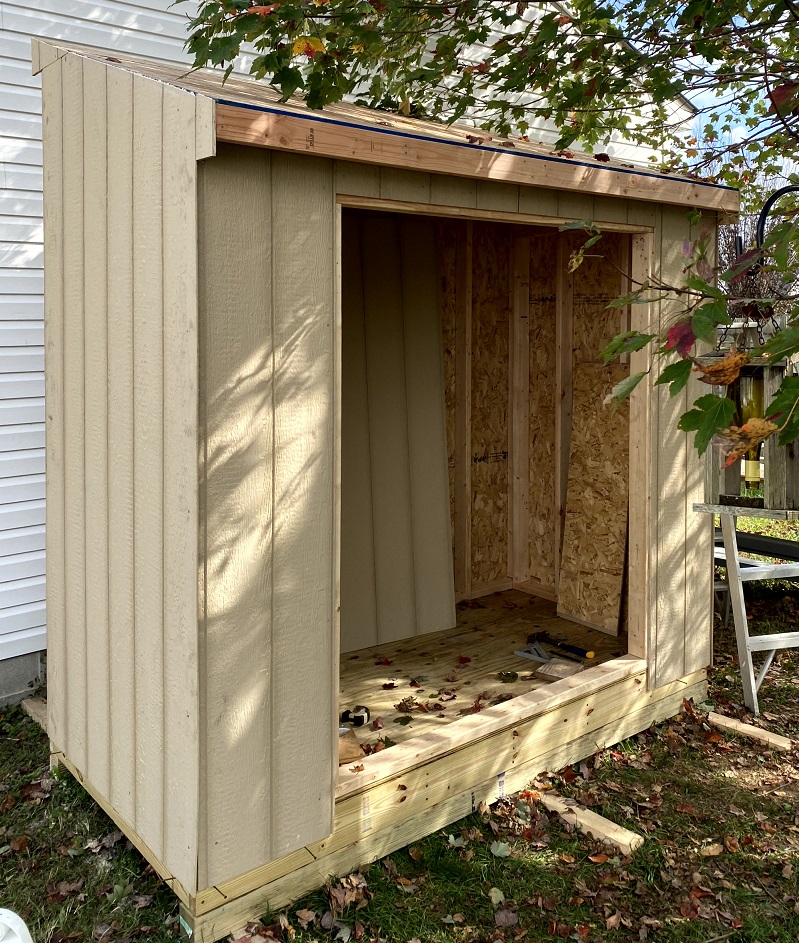
Started by framing up the floor. The floor is framed with pressure treated 2×6’s and is sitting on 4×4 ground contact pressure treated skids. I glued and screwed down the 3/4″ piece of plywood for the floor.
I cut all the studs to the measurements in the plans and assembled the frames for the walls in the driveway. Then moved wall framing to the shed and attached them to the floor.
Next I cut the rafters. The plans include templates for this which were very helpful. I double checked measurements and then cut out a rafter. Checked the fit and then used that rafter as a template for the others.
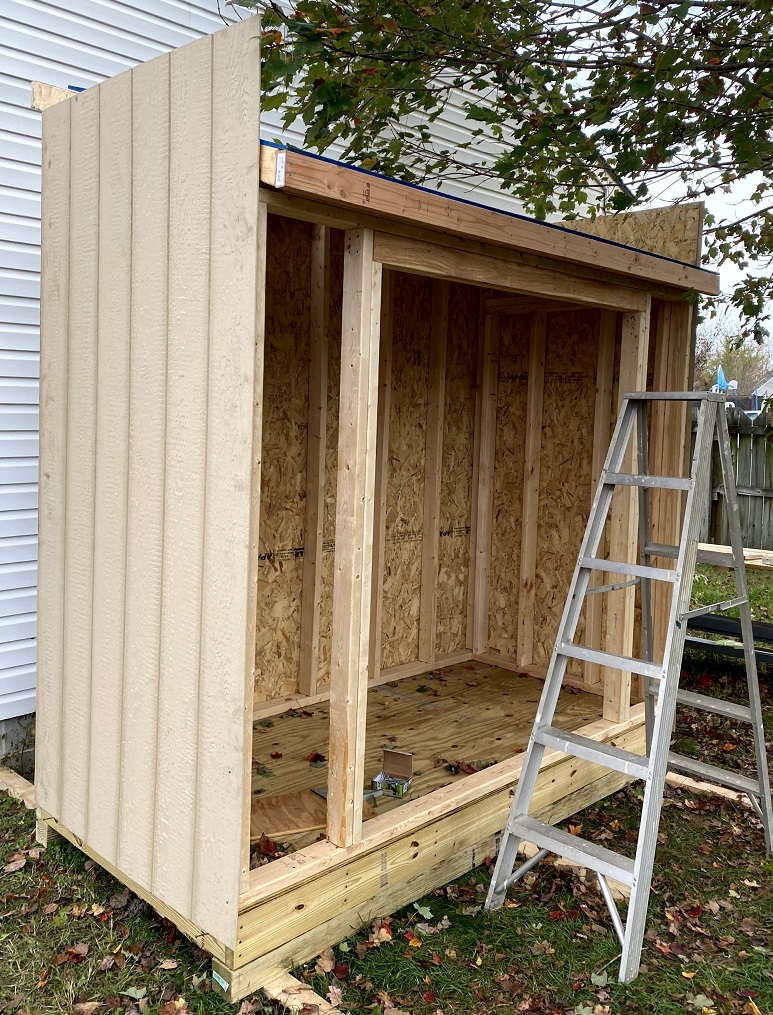
Exterior Siding, Roof Sheeting
Cost: $526 – Time: ~3 hours on 11/6/2022 and ~2 hours on 11/7/2022 and ~2 hours on 11/12/2022
A trip up to Lowe’s to buy the siding, the roof sheeting, the roof trim, roofing felt, and exterior paint. I also picked up the drip edge and a bunch more nails (roofing nails, trim nails).
Installed the exterior siding on the back of the shed and the side. Left the slides long per the plan.
Finished up all the siding on the front and cut off sides to follow the roof line. Used the cut pieces of siding to fill in on the back and front sides. You won’t really see these, but it fills the gaps so the side trim fits right.
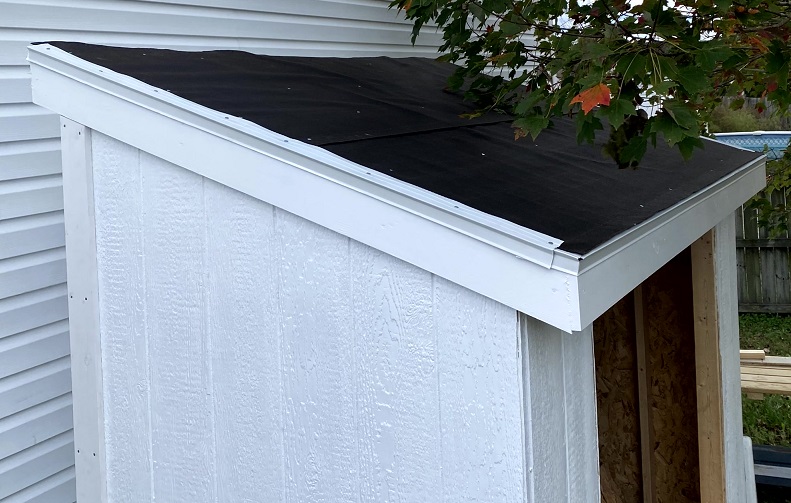
Painted the trim for the roof in the garage, then cut it to length, and installed it. Cut and installed siding to button up the soffits. Put the first coat of paint on things. Installed the drip edge and roofing felt.
I also installed the 1×4 trim on the back corners. This way I can move the shed closer to the garage since I am all done with the back.
Shingles
Cost $62 – Time: ~3 hours on 11/12/2022
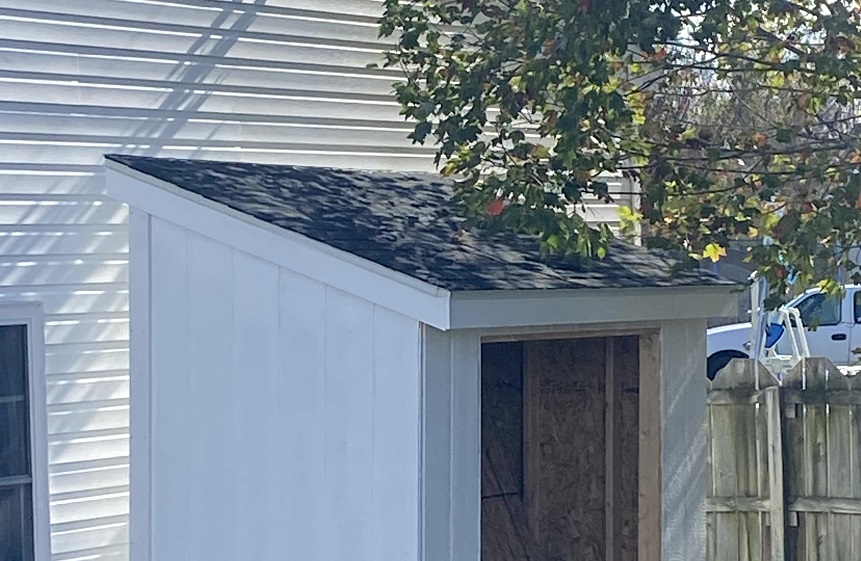
Back to Lowe’s to pick up the shingles. I used GAF 3-Tab Shingles in Charcoal which match the roof on the garage. The shingles actually went on pretty quick. I installed the first 6 rows from the ladder, but then had to move up on the roof to finish the rows towards the back.
The plans say the roof requires a full square of shingles, I picked up 3 bundles but only needed 2 to complete the roof so I returned one of them.
Doors and Finishing
Cost: $135 – Time: ~4 hours 11/20/2022
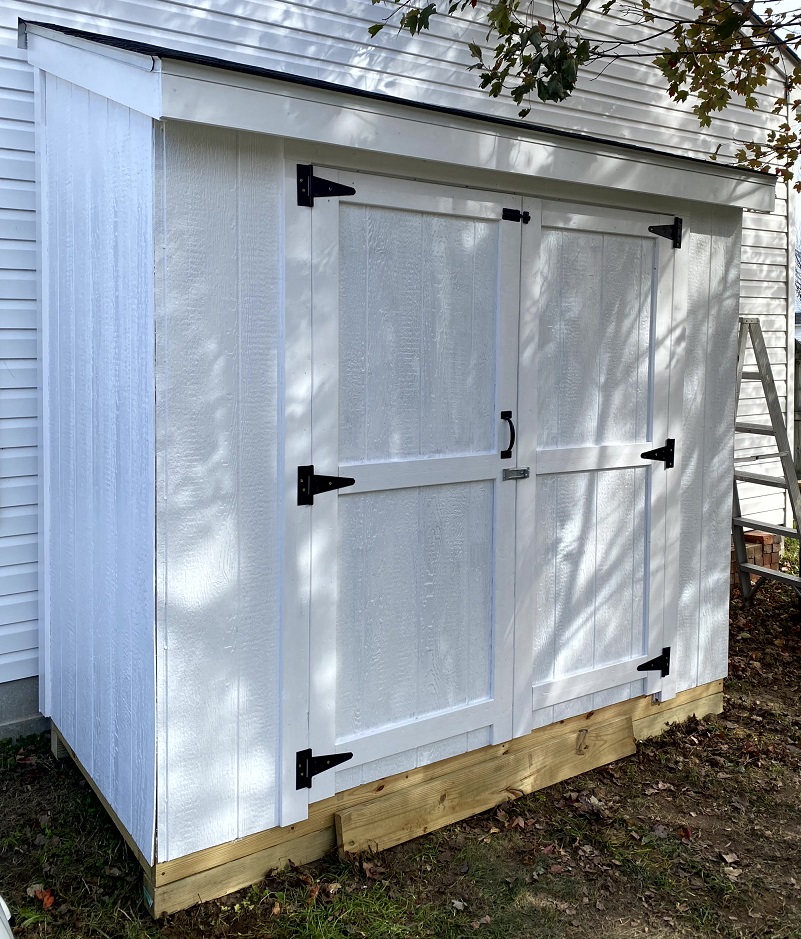
The doors a built on a 2×4 frame and the cut outs from the front siding are used for the exterior of the doors. I did several test fits of the doors before attaching the hinges. Added a handle and a latch to keep things secure.
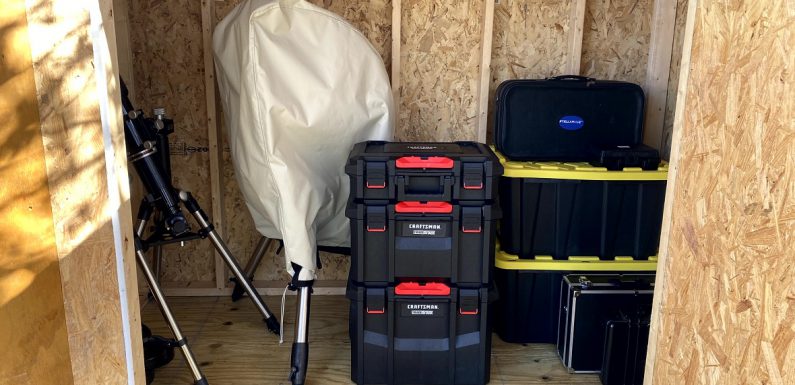
There it is… the AstroShed. I still have to do the trim on the front corners. I painted the trim in the garage and am waiting for it to dry to install. Other than the front trim, which is just cosmetic, the AstroShed is ready to protect and organize my astronomy gear.
Took about 20 hours to build working on it a bit here and there over several weekends. The project ended up costing about $1050 in total which includes all the lumber, siding, shingles, drip edge/flashing, hardware, and paint. Right about the same price as the preassembled kit, which did not include the shingles and paint.
Didn’t need any special tools just a circular saw, a hammer, a tape measure, a speed square, a chalk line, and a pencil. A nail gun would have made things go a lot faster, but I managed fine with just a hammer.
It has already weathered a couple of good rain showers with no leaks.
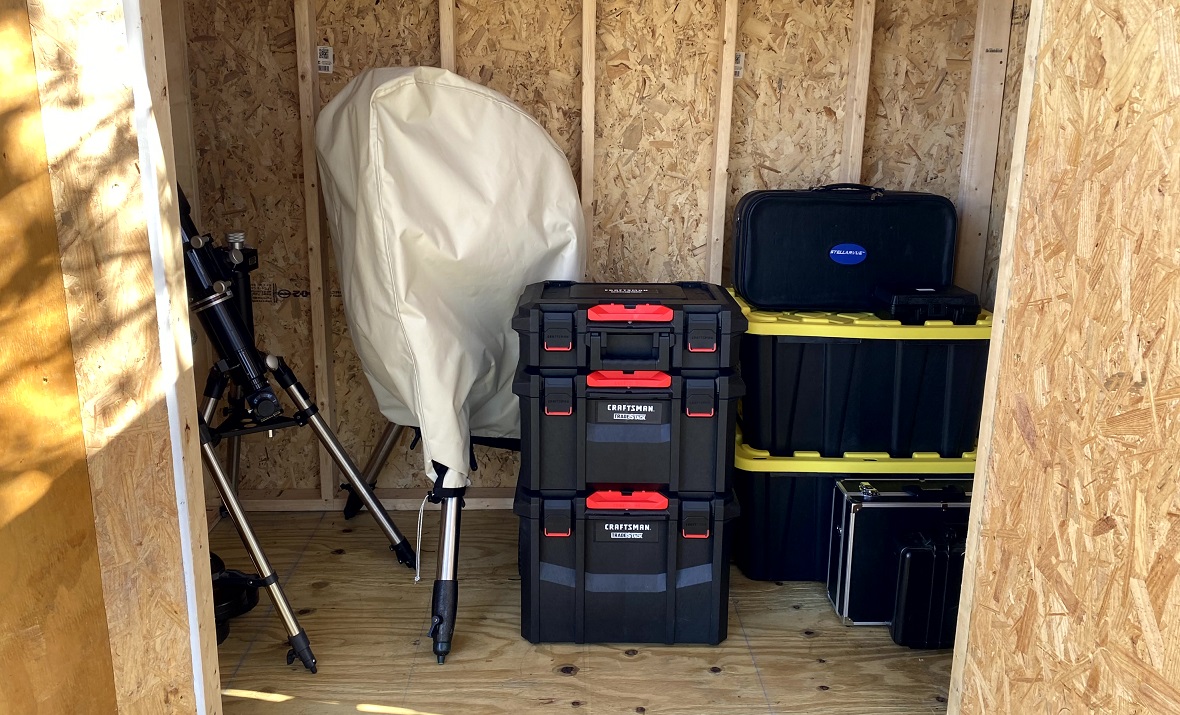
Moved most of my gear in there and everything fits great with room for more. I’ll probably add a shelf and peg board across the back to give a bit more space for smaller stuff which I need to get to more often.
Hopefully the sky clears soon and I can get back to some EAA.


Nice